 How to convert PPT to TIFF with Okdo Ppt Pptx to Tiff Converter
Nowadays, almost every major company uses PowerPoint for creating presentations, as it is a very popular application, even though the file format (PPT) is not supported by many programs. Therefore, converting them to an image format might come in handy, especially if you are using a remote computer that doesn't have PowerPoint installed or you just want to edit the photos from a presentation using powerful graphic editors like Photoshop.
Why TIFF? Well, because TIFF is a wide-used image format that is accepted by almost all image viewers and editors available on the market. Transforming PPT files into TIFF images is also useful if you want to print individual slides from your presentation, as TIFF was designed as a graphics format that can store any type of pixel-based image, with layers and other features, without any quality loss (ideal for printing).
For demonstrating the process of changing PowerPoint PPT files into TIFF digital photos, I've chosen Okdo Ppt Pptx to Tiff Converter 5.4 (Shareware $39.95), because, even though it is shareware, it is a fast and efficient tool that can convert single and multiple presentation files with just a few clicks of a mouse.
Tutorial assets
You will need to download the following software to follow along with this tutorial.
These are three easy steps that you will need to follow in order to extract slides from your PPT presentation as TIFF images.
Step 1
Add the desired PPT file or an entire folder (you can either drag-and-drop them to the interface or click on the “Add Files” / “Add Folder” button)
Step 2
Select the output folder (no need to choose the format as you can only convert to TIFF)
Step 3
Click on the “Convert” button.
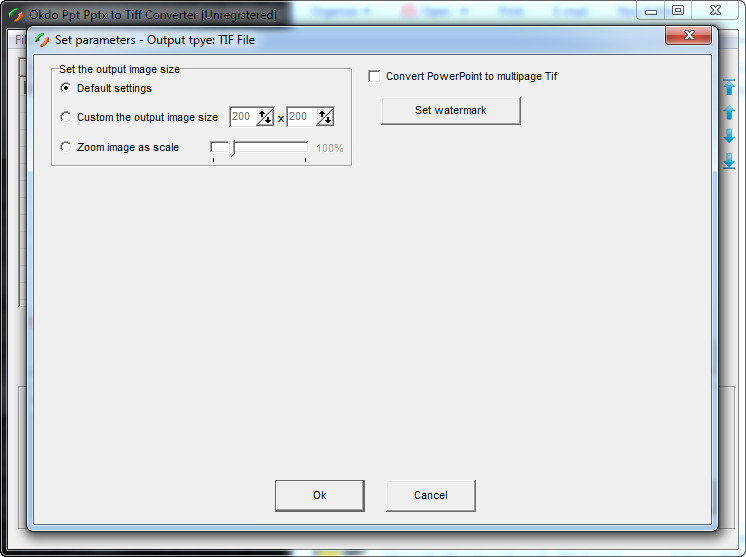 Select the output folder
 Adding a watermark
Conclusion
Good job! You successfully have converted your PPT files to TIFF images. As you can tell, extracting TIFF images from your PPT presentations using Okdo Ppt Pptx to Tiff Converter 5.4 (Shareware $39.95) is not that complicated. Make sure to follow the guide if you have any problems and complete the conversion task in no time and with very little effort. If you are looking for other replacement tools, maybe some of them even free of charge, then check the related programs list.
- Support for batch conversion
- Fast conversion speed
- Can add watermark
- A bit expensive ($39.95)
Alternative downloads
-
 PPT to Image Converter
$49.95
windows
This program can convert PowerPoint PPT documents to image files.
Download
PPT to Image Converter
$49.95
windows
This program can convert PowerPoint PPT documents to image files.
Download
-
PPT to Image Converter
Pro
$59.95
windows
PPT to Image Converter is the fast, easiest way to convert PowerPoint PPT document to professional-quality JPEG, JPG...
Download


Comments