 How to make an app with Android Studio
Android Studio is the officially integrated development environment for the Android platform. This program is compatible with Windows, macOS, and Linux, provides you with a wide range of tools for building Android apps, comes with an integrated emulator, and so much more. It's the must-have for any developer who wants to easily create, debug, and run Android apps.
Tutorial assets
It's important to know a few things about Java programming to be able to keep up with this guide. Here's what you need to do in order to create a simple app with Android Studio:
Step 1
Download and install Android Studio from the homepage of the developer. Optional: install the extra components provided while installing Android Studio if you want to have access to extra features.
Step 2
Run Android Studio. Click the "Start a new Android Studio project" button.
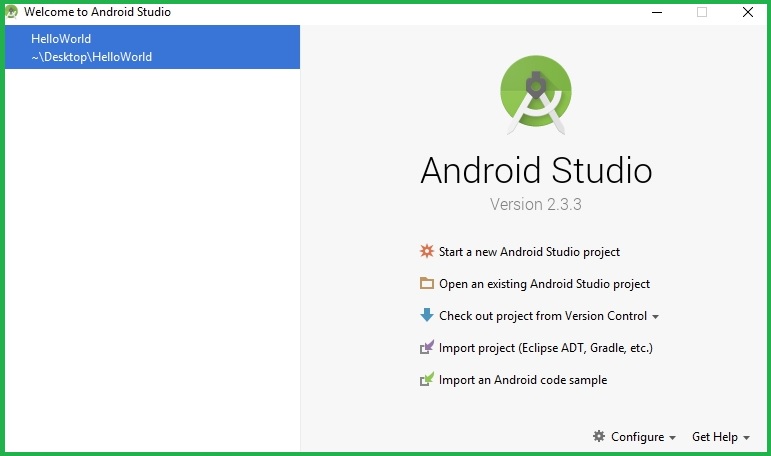 Starting New Android Studio Project
Step 3
Enter a name for your application and change the destination folder for your project if needed. Press the "Next" button.
Step 4
Select the form factors your app will run on. Click the "Next" button.
Step 5
Choose the "Empty Activity" option. Press the "Next" button.
 Activity Type Window
Step 6
Click the "Finish" button.
Step 7
Head to the activity_main.xml tab and select the Design panel. Center the "Hello, world!" on the phone preview panel.
Step 8
Double-click the strings.xml file from the values folder. Find the line "Hello world!". Add "Welcome to my app!" after "Hello world!".
Step 9
Head back to the Design panel of the activity_main.xml tab. Go to "Palette" and select the "Widgets" option. Choose "Button". Place the new button underneath the "Welcome to my app!" message.
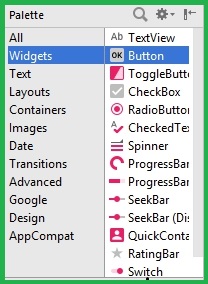 Palette Panel
Step 10
Look for the Text option from the Properties panel (the Properties panel is located on the right side of the interface). Change the text from the box with "Next Page".
Step 11
Press the green Play button on the main toolbar of Android Studio to test the new application. Select the type of test you wish to complete: use an Android device or create and work with a virtual device.
Conclusion
In this guide, I showed you how to create a very simple Android application. There are many IDE you could use, for example, Microsoft Visual Studio. However, Android Studio is the most popular one and provides you with a wide variety of useful tools and project customizations that help you create both basic and complex applications for Android devices. Complete the aforementioned steps, add few more functions if needed, test your application, and you can start sharing your new Android utility with the world.
Alternative downloads
-
 Xamarin Studio
$25
windows
Powerful cross-platform IDE that allows you to build applications.
Download
Xamarin Studio
$25
windows
Powerful cross-platform IDE that allows you to build applications.
Download


Comments