 How to record your screen on Mac
Screen recorders are useful applications that can help you out in a variety of situations, from creating video tutorials to showing computer-related problems and even gaming sessions.
If you're not sure which application to use in order to record your Mac's screen activity, take a look at the tools presented in the following guide and decide for yourself which one suits you best.
QuickTime Player
Before searching for other screen recorders on the web or on the App Store, why not give your Mac OS X's built-in tool, QuickTime Player, a try? Even though it is primarily used as a media player, this piece of software also offers you the possibility to make recordings of anything that happens on your screen. Here's what you'll have to do:
Step 1
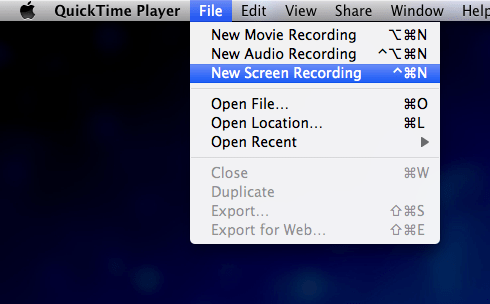
After launching QuickTime Player, go to the "File" menu and click on the "New Screen Recording" option.
 New Recording
Step 2
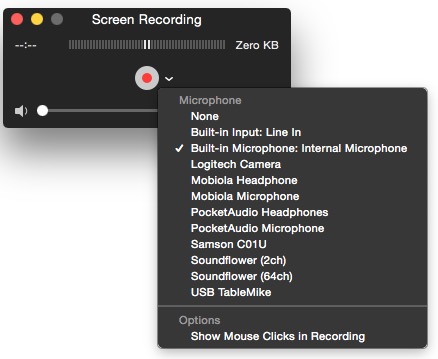
After the recording window appears, you can easily change some settings, such as the audio sources for your recordings or show your mouse clicks during your video (useful for tutorials), by clicking on the small arrow next to the recording button. Additionally, you can use the volume slider to set the desired audio volume for your voice-overs or other sounds captured in your video.
 Recording Settings
Step 3
Start the recording by clicking on the red dot button. Next, you can either click anywhere on your screen to perform a full-screen recording, or you can drag to select an area that will be recorded.
Step 4
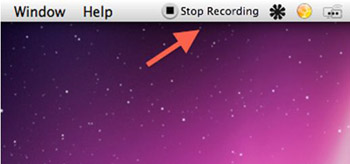
Stop the recording either by clicking on the stop recording button on the menu bar or using the keyboard shortcut "Command + Control +Escape".
 Stop Recording
Now, your MOV video will be automatically loaded in QuickTime Player, from where you can save it in any desired location and perform any other actions. Also, if you are using the latest version of QuickTime Player, you also have access to basic editing features that might help you modify your video as you see fit.
Using other third-party applications
As you can see, QuickTime Player gives you the possibility to record your screen activity, but it only offers basic features. Therefore, if you want to perform recordings while having additional features at your disposal, like more recording modes, various output formats, advanced editing tools and so on, then you might want to take a look at other applications that were specifically designed for this purpose.
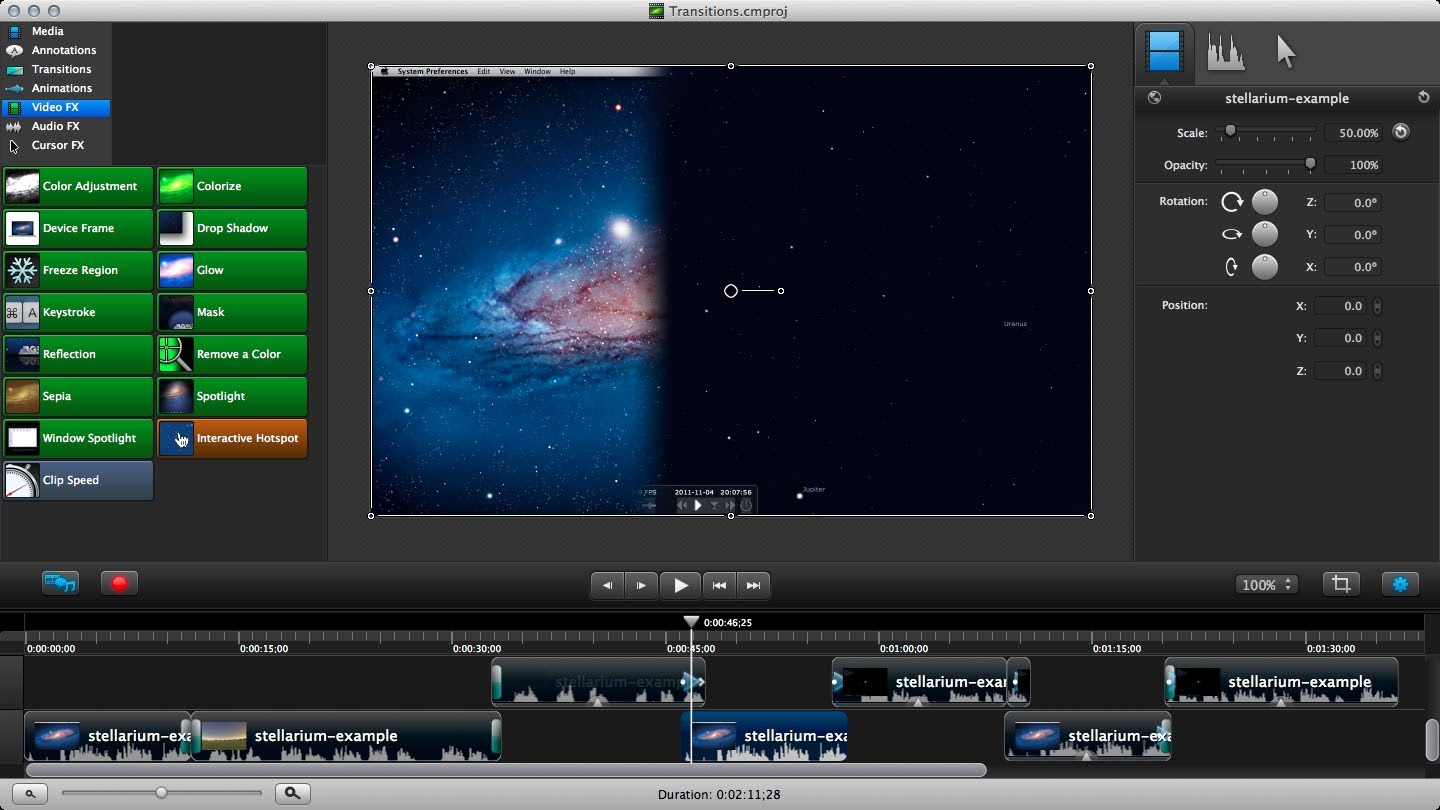
ScreenFlow - Shareware ($99.00)
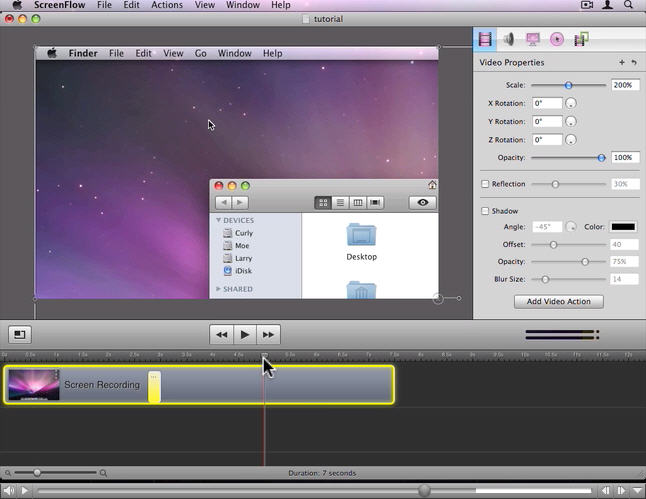
One of such tools is ScreenFlow, a popular and feature-rich screen recorder that can help you record anything that happens your Mac's desktop.
 ScreenFlow
With this application you can record your Mac's screen in multiple modes, including full-screen, area or window and, if you decide to use the latest versions, it can even help you capture the activity in iOS devices. And that's just the start of what ScreenFlow can help you do.
If you want to edit your recordings and add effects, shadows, transitions, subtitles or other captions, zoom in, etc., then you might be happy to know that ScreenFlow can let you do all of these things with ease. This way, you won't have to use other video editing programs to achieve this. Did I tell you that this application can also help you publish your recordings on websites like YouTube, Facebook, Video, Google Drive or Dropbox with just a few clicks of a mouse? Well, it can.
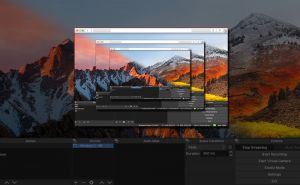
Camtasia Studio - Shareware ($99.00)
Similar to ScreenFlow, Camtasia is another powerful and widely-used screen recorder providing you with a large number of features that you might find helpful during your work.
 Camtasia Studio
Camtasia offers you almost all of the features that ScreenFlow provides, including adding effects, shadows, transitions, captions and so on, but also some unique features that make it stand out.
One of such features is called "SmartFocus". It is, basically, a smart animation that you can drop in your video's timeline, and it will automatically calculate where to zoom and pan, based on the position of your mouse cursor during your recording. It can be pretty useful, but you should also keep in mind that it is not 100% accurate.
Another type of animation that Camtasia Studio puts at your disposal is "Zoom to Fit". This feature will automatically zoom the part where it is applied on your video's timeline back to full-screen view. This way, you won't have to manually resize your video after zooming in some random part of it during your recording.
MonoSnap - Freeware
Since both Camtasia and ScreenFlow are shareware applications, I thought it would be nice to also show you a free-to-use screen recorder, called MonoSnap.
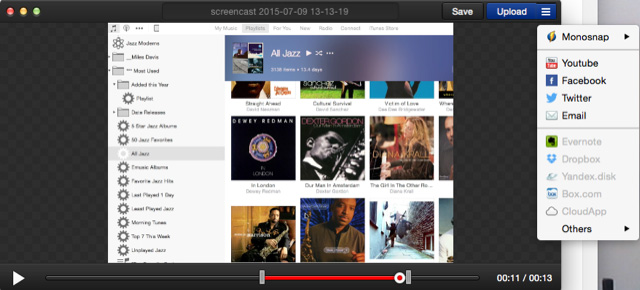 MonoSnap
MonoSnap is a lightweight tool that can help you capture both snapshots and your Mac's screen activity. It might not have the advanced features that the previously mentioned applications come with, but, unlike QuickTime, it allows you to also add a webcam to your recordings and quickly upload your videos to YouTube, Facebook or Twitter. This can prove to be quite useful, for example, if you want to show other users who you are and what your voice sounds like during your tutorials.
So, just like QuickTime, MonoSnap can prove to be a useful piece of software for quickly creating screen recordings and performing some basic editing actions like trimming your videos.
Conclusion
As you can see, the general idea is quite simple. If you want to perform basic screen recordings, video presentations and tutorials, you can safely use freeware applications like QuickTime or Monosnap, but, for more advanced and professional-quality work, you might want to invest some money in a powerful tool such as Camtasia or ScreenFlow.
If you have other suggestions or any questions related to screen recorders, feel free to leave me a message in the section below.


Comments