 How to transfer photos from iPhone to PC
iPhones, along with iPads, are among the most popular hand-held devices in the world and, with each passing day, more and more users are starting to take photos with their smartphones and tablets, instead of using a digital camera. And why shouldn't they? The cameras on these devices are quite good and they offer a great image quality for amateur photographers, especially if we are talking about the latest iPhone models.
We already know that iPhones and Macs work well together and transferring photos between these devices is as easy as pie, but there are also many Windows users that own an iPhone and might want to save the pictures from their smartphone on their computers. So, if you find yourself in this situation, then here are some simple methods that will allow you to transfer photos from your iPhone to your PC.
Using a USB cable
One of the easiest ways to transfer pictures from an iOS device to your computer is by using a USB cable (yes, the one you use to charge your iPhone), like the one you can see in the image below. Keep in mind that your USB cable might be a bit different, depending on the model of your smartphone.
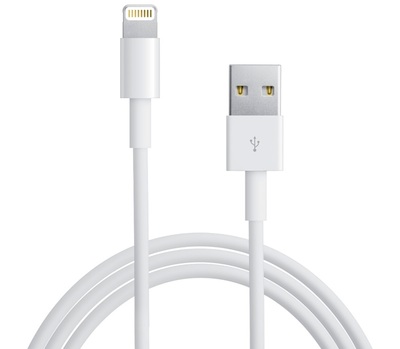 USB lightning cable
Once you have connected your iPhone to your PC using your USB cable, a pop-up window should automatically appear that will ask you what you want to do next. Simply select the "Import photos and videos" option, wait for the app to launch, select the desired photos and save them on your computer. It's extremely easy.
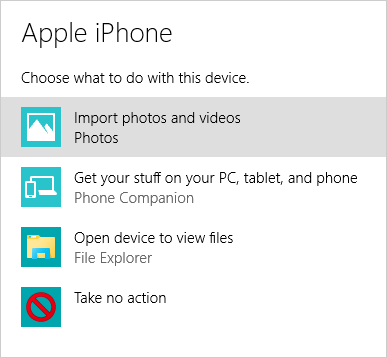 Pop-up Window
You might want to make sure that your iPhone is properly connected to your PC, unlocked and you have allowed the data from your device to be accessed from your computer - a pop-up window will appear on your iPhone that will ask you for that.
 Allow Device
If, by some chance, the pop-up window doesn't appear, you can manually launch the default Windows photo app (called Photos) by typing its name in the search bar or any other image processing tool, for that matter.
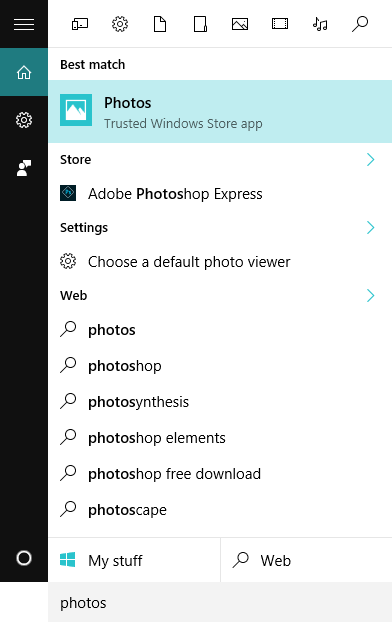 Search for Photos app
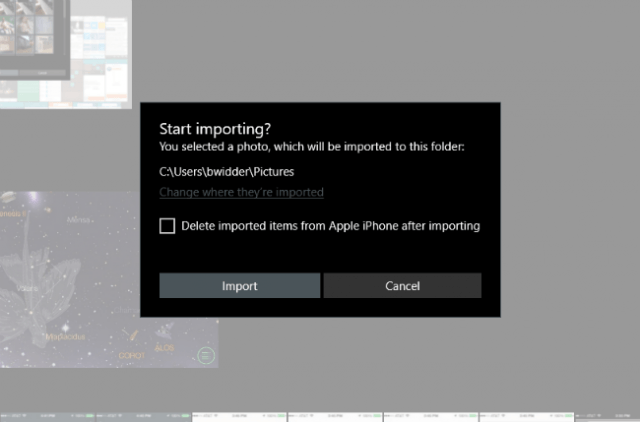
After you have launched the program, click on the "Import" button from the upper-right part of the interface and wait for the automatic picture detection process to be finished. Now, all you have to do is select the photos you want to transfer and save them in the desired location on your PC.
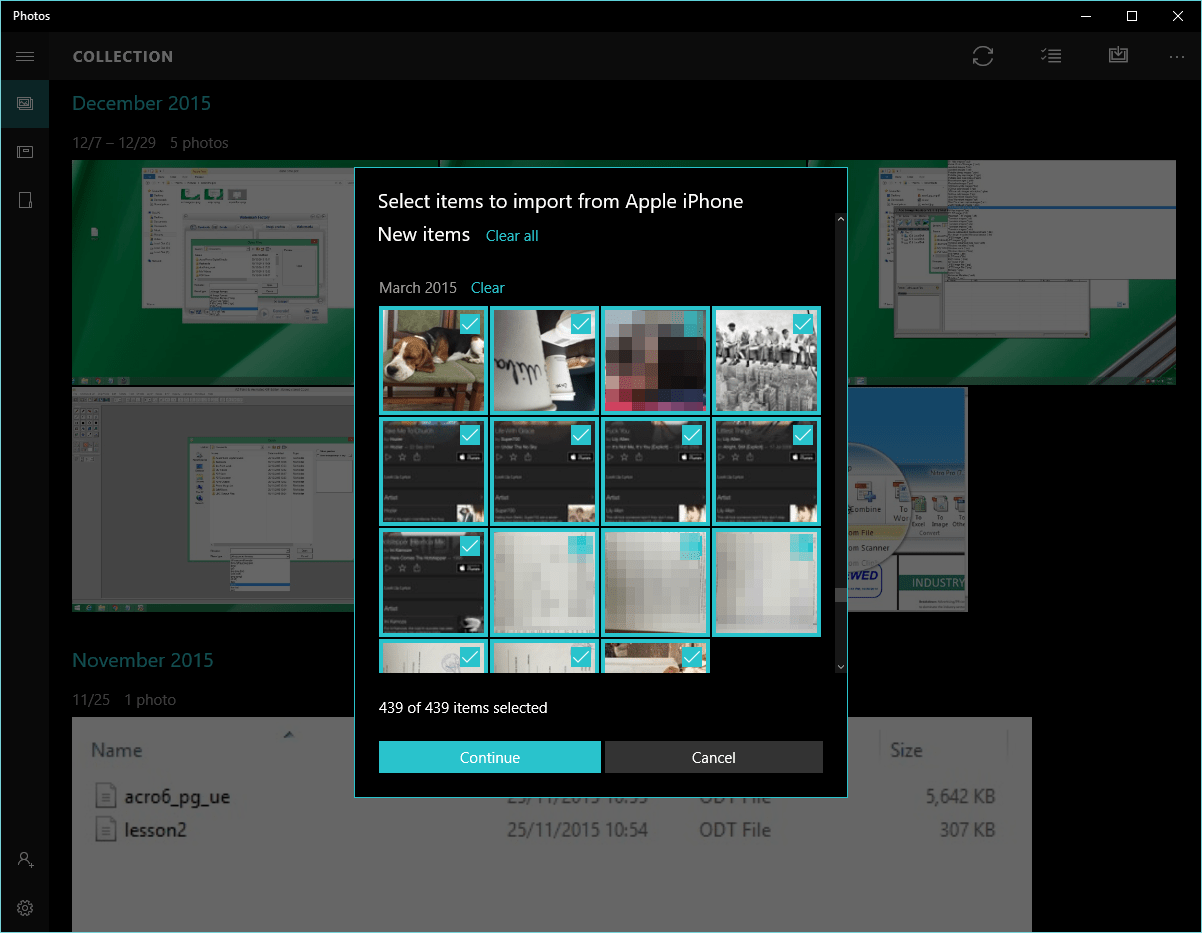 Select Photos
Additionally, if you want to move the photos from your iPhone to you computer and not just copy them, then, after pressing the "Continue" button, you can select to delete the imported pictures from your smartphone. This way you will create more free space on your device.
 Delete Imported Photos
Manually copy photos using File Explorer
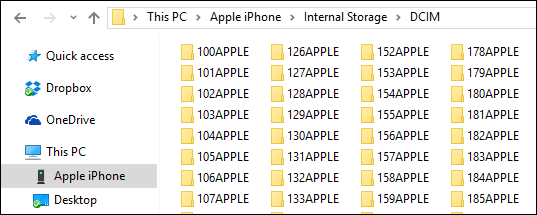
If, by some chance, you don't have any picture app installed on your computer or if you have a very large number of pictures and you don't want to browse through all of them, then you can easily copy the entire photo directory from your iPhone to your PC using File Explorer or any other file manager.
In order to do that, you will have to launch the File Explorer (or Windows Explorer), click on your iPhone or iPad, locate a folder called "Internal storage" and open the DCIM directory. Here is where all of your photos and videos are stored.
 File Explorer
From here you can either select all the directories and move or copy them to your computer, or if you want to look for specific ones, you can browse through all of your folders in order to locate them.
Using iCloud
If you don't like any of the above-mentioned methods, then you can always turn to a cloud-based services like iCloud, DropBox or Google Photos to transfer the pictures from your iPhone to your PC. For this example I will be using iCloud because it is already installed on your iPhone (if it is up to date), it is very easy to use, and you can easily download and install it on your Windows PC from here.
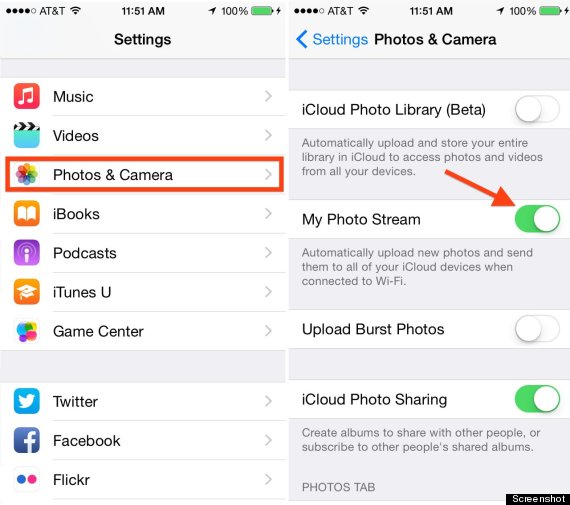
Now, the first thing you will need to do, after connecting your device to your Wi-Fi network, is log into iCloud on both your iPhone and PC using your Apple ID. Once you have done that, go to your iPhone and activate a feature, called "My Photo Stream", which can easily be found under "Settings" > "iCloud" > "Photos".
 Activate Photo Stream
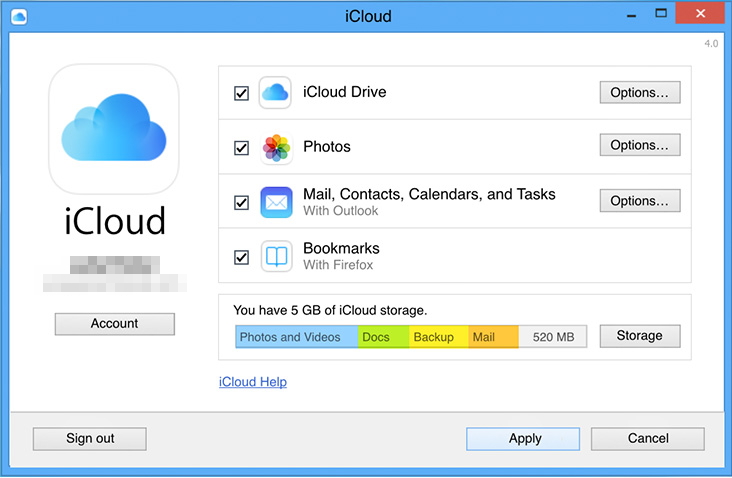
Now, you will have to do the same thing on your Windows PC. Simply launch the iCloud app, go to the "Options" menu and turn on "My Photo Stream".
With "My Photo Stream" turned on every new picture, you will take with your iPhone, will be automatically uploaded to iCloud, if your smartphone is connected to a WiFi network or, if not, they will be synced the moment you will connect to one. Activating "My Photo Stream" on your Windows computer will give you the possibility to instantly access the photos uploaded to iCloud and copy, move or manage them with just a few clicks of a mouse.
 Windows iCloud app
Conclusion
As you can see, there are several ways in which you can quickly transfer photos from your iPhone to your Windows PC. However, if you decide to use a cloud service to copy or move your pictures, you make sure that your iPhone is connected to a WiFi network and is not using your mobile data plan, or else you can start preparing for a pretty huge phone bill.
If you have any additional questions or suggestions about this topic, feel free to leave me a message in the comment section below.


Thank you!