 How to convert iTunes 9 protected AAC or M4P music to MP3?
You might already know this if you are a regular iTunes user, but back in 2009, Apple decided to drop their DRM protection feature applied to downloaded music. Even if this is a practice enjoyed by the majority of iTunes users, as they are now free to do anything they want with their purchased songs, a problem still remains for those who had downloaded their favourite songs before the protection was removed. Luckily, there is a way to fix that, without having to re-purchase newer versions of your songs (if they are still available), and I will show you how to do that using iTunes in the following lines.
Here are the simple steps you will need to complete in order to convert your iTunes DRM-protected AAC, M4P or any other type of music file to MP3
Step 1 - Upgrade your music files
After launching iTunes, simply go to your songs, right click on them and select the "Show in iTunes Store" option in the menu.
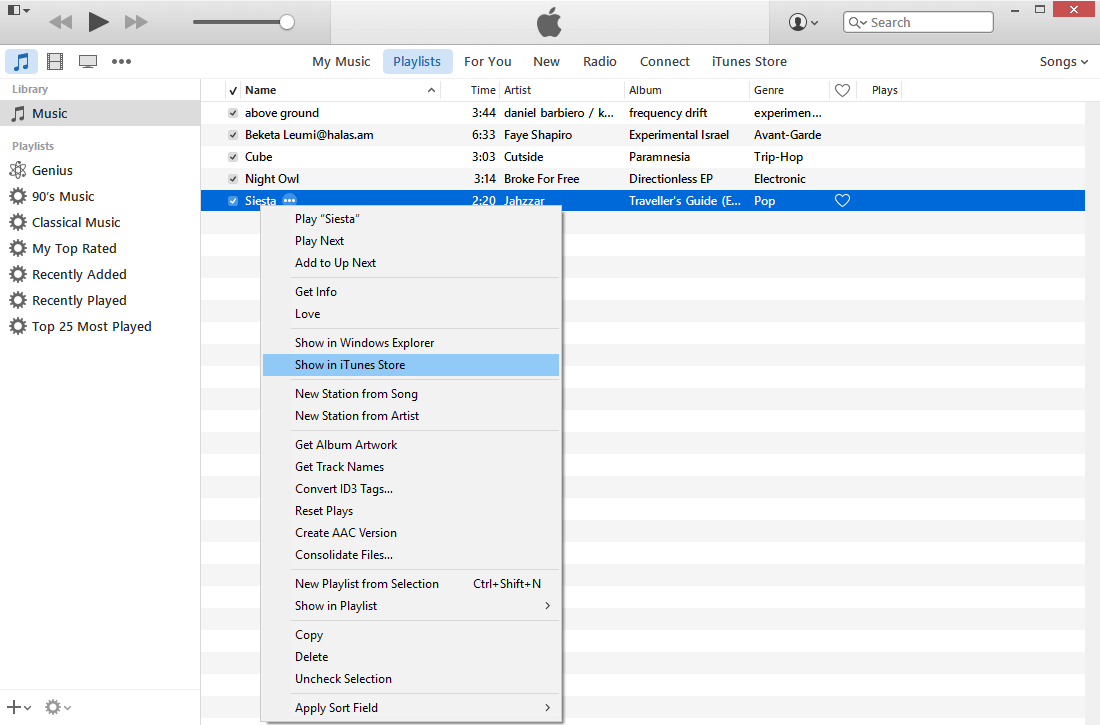 Show in iTunes Store Option
Simply select to upgrade the song to a newer version without DRM protection for a small fee of 0.30$. Now that you have a DRM-free audio file, you can easily convert it to the popular and versatile MP3 format.
Step 2 - Convert to MP3
Step 2.1 - Select conversion format
For some reason, iTunes doesn't offer you a direct conversion feature that will allow you to quickly switch between media formats with a click of a mouse. Instead, there are several actions you will need to take in order to complete this task. Fist, you will have to select the output format. To do that, go to iTunes menu and click on the "Preferences" tab.
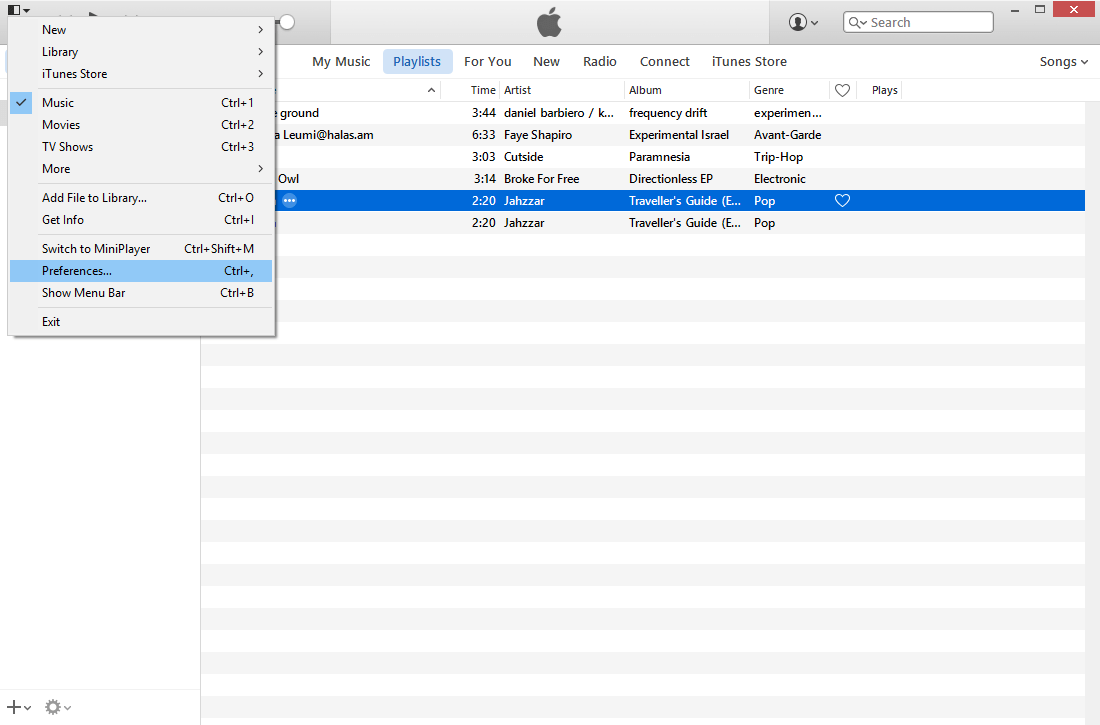 iTunes Preferences
In the "General" tab, locate and click on the "Import Settings" button to open the encoding options window.
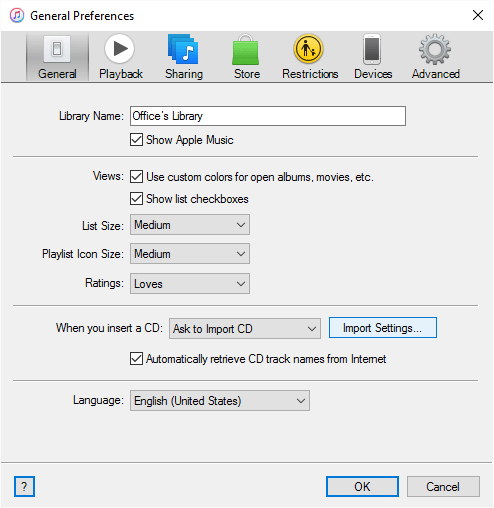 General tab - Import Settings
Now, simply, choose the "MP3 encoder" option from the drop-down menu and save all the changes by clicking "OK".
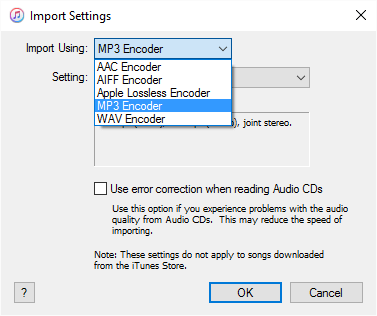 Select output format
Step 2.2 - Create a new version of your song as MP3
If you have correctly selected the above-mentioned options, go to the "File" menu ("Alt+F" if you are on Windows PC), hover your mouse above the "Create New Version" option and click on "Create MP3 version". iTunes will automatically create a copy of your selected AAC or M4P song, store it as an MP3 file and add it to your playlist. From here, you are free to do anything you like with your newly created track.
Conclusion
As you can see, converting DRM-protected AAC, M4P or any other type of audio file from your playlist to MP3 using iTunes is not that difficult. But, if you don't want to use this app to convert your songs, there are always other third-party programs that can help you out. Tools like TuneClone, Clone2go Free Audio Converter or AAC to MP3 Audiobook Converter can do this job, but I cannot guarantee their success or vouch for good quality output.
If you have any additional questions or comments, feel free to leave me a message in the section below.


Comments