![]() How to make a timetable
How to make a timetable
Timetables are a way to keep repetitive things organized, especially for teachers that work with children or students on a daily basis in basic schools or universities. They must keep track of all the lessons that they have to teach, activities, important notes, and objectives. Timetable applications were developed to make life easier for this matter because they provide all the necessary tools to keep teachers informed while they are staying on track with their daily teaching activities. For example, there are apps that work as calendars which could be easily transformed in real-life schedulers. These can be used as timetable application as well because they contain a weekly calendar where data can be stored with the possibility to add reminders, alarms, text, color customization and more.
In this tutorial, I am going to show you to create such timetable.
Tutorial assets
You will need to download the following software to follow along with this tutorial.
Step 1
Download the aSc TimeTables application, install and launch it from the desktop. It will create 2 shortcuts on your desktop. You just need the aSc TimeTables one, not the Substitution. The Substitution module is for a different purpose.
Step 2
Once the main window opens, click the Create New Timetable icon (the one that looks like a wand) that's actually more of a wizard guide.
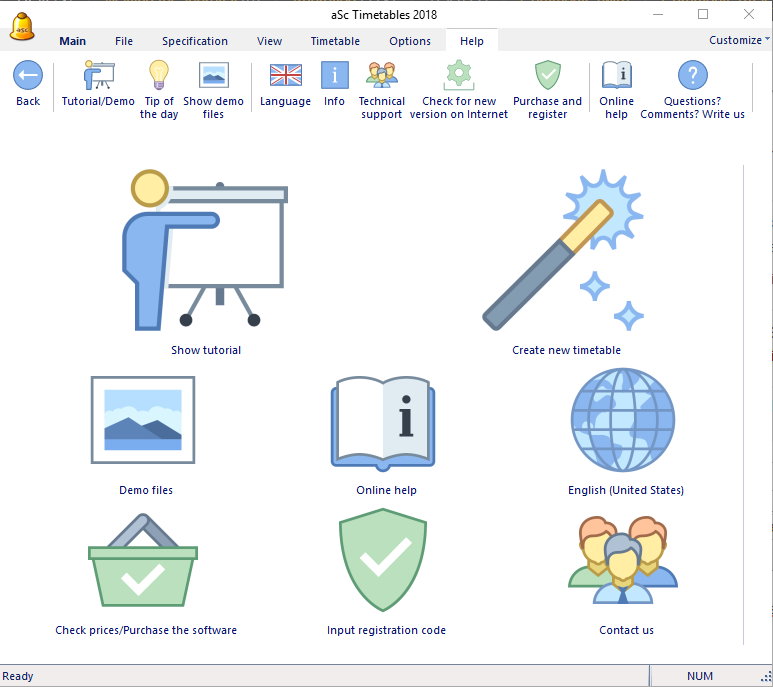 Startup window of aSc TimeTables
Step 3
At this time the wizard will have 7 steps. In these steps configure everything by adding the required data (school name, year, periods of days, number of days, etc)
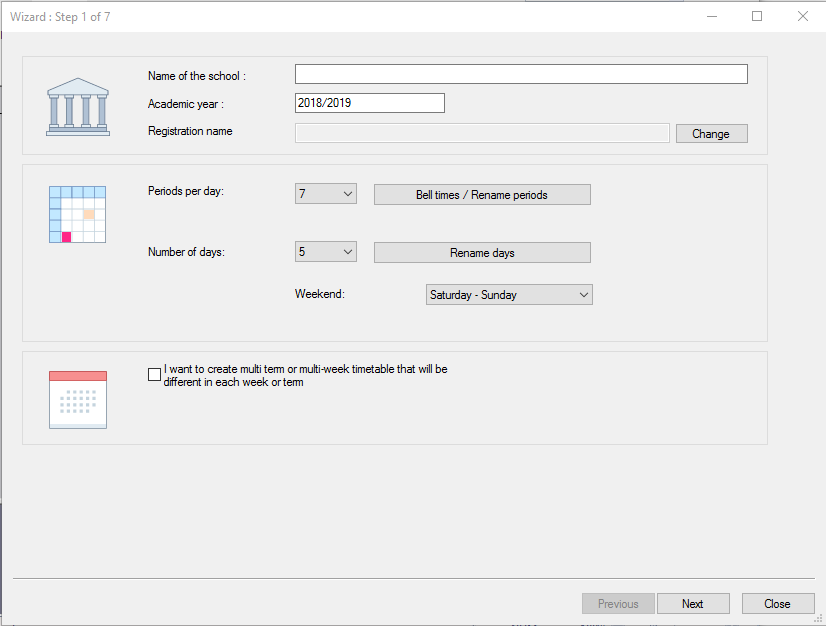 Wizard menu
Step 4
In Step 3 of the wizard, you will have to add the students in the classrooms, the classes, and classrooms where you teach, the subjects you will explore and any additional teachers that will participate.
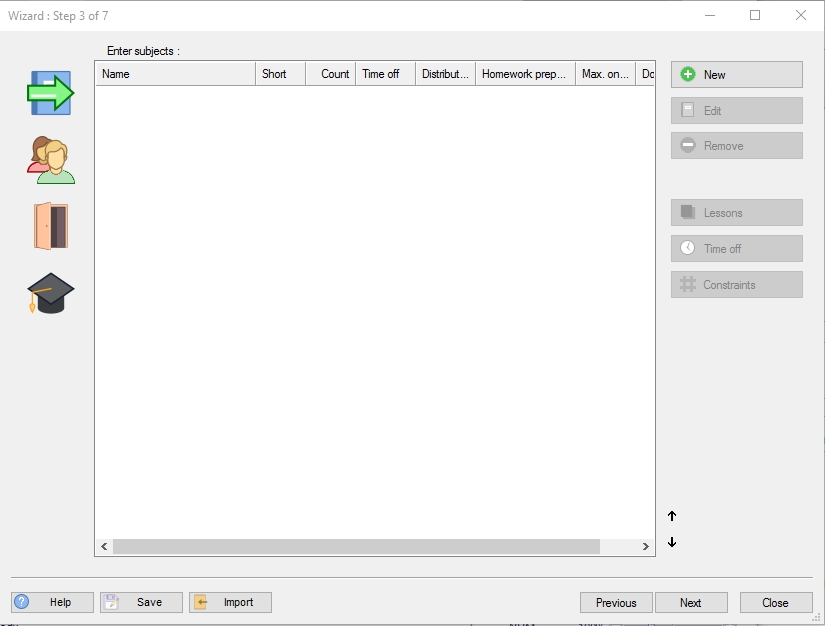 Additional configuration options window
Step 5
Finally, import other data if you have or simply Test or Generate the timetable to finish the operation. You can also save the template using the Save button on the lower-left section of the screen to use it in the future.
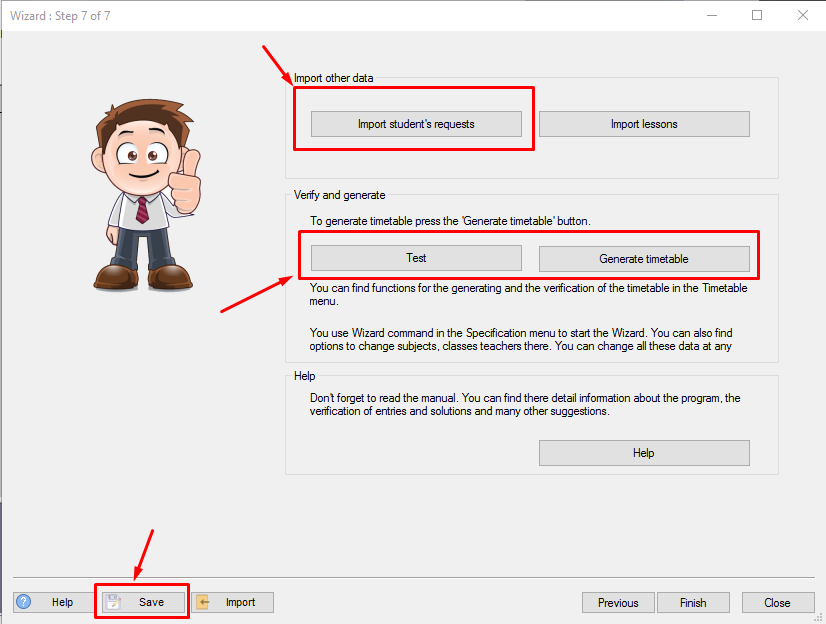 Import Window
Step 6
Press on Start timetable generation and wait for it to finish. At the end, you'll have a screen with all the data that you've added to the program where every class is configured, every student listed, and all the subjects and activities displayed. Of course, you don't have to stop here. The program gives you a more in-depth configuration using the main menu options like Specifications, Timetable, and Options. You can also click on the icons in the Main tab taking you directly to that feature to customize it the way you want it.
 Main menu options
Conclusion
As you can see, this is the basic process of creating a timetable to use in schools and universities. The process seems simple, but the more data you add the more complicated it can be. Luckily, the software gives you the possibility to customize and take control of all the information added. Of course, this isn't the only solution because you can transform a simple calendar like the one from Google Calendar or Microsoft Outlook into a fully-featured timetable.
Alternative downloads
-
 Timetable
$25
windows
Tool for anyone who needs a visual timetable.
Download
Timetable
$25
windows
Tool for anyone who needs a visual timetable.
Download
-
aSc TimeTables
free
windows
Award winning tool for creating timetables for primary/secondary schools with unique automatic generator.
Download


Nice recomendations