 How to enable offline support in Gmail
Gmail features an option to stay connected to your Inbox even if there is no Internet connection available. The feature provides direct access to your Gmail account with the possibility to read, respond and search the entire database of emails. This option is called Gmail Offline and it’s available within your Gmail’s Settings menu.
Once the option is activated (using a Google Chrome’s Extension app), all the email will be synced automatically for as long as you have an Internet connection, and when you'll go offline, the access to your inbox will be available through an interface that will look like in the tablet mode. It was designed this way so you can stay organized and have fast access to emails.
The Gmail has different looks now, which means there are two ways to enable offline support:
- The classical way through the Settings > Offline menu
- The new way using the fresh interface still accessible from the Settings > Offline, but without the need to install an extension.
In one of our previous articles, you've read on how to optimize the way your Gmail works, while in this guide I am going to show you how to enable offline support for your Gmail account.
Enabling offline support (classical look)
Step 1
Log in to your Gmail account, then press the cogwheel and click on the Settings option. Afterward, go to the Offline tab.
 Settings menu
Step 2
Access the Gmail Offline page (Chrome extension) and add the extension to your browser by clicking on the Add to Chrome. Once it finishes installing, you'll find the Offline icon in the Apps menu inside Chrome. If there is no Chrome Apps button on your bookmark bar, open a new type and type chrome://apps.
 Chrome Apps Section
Step 3
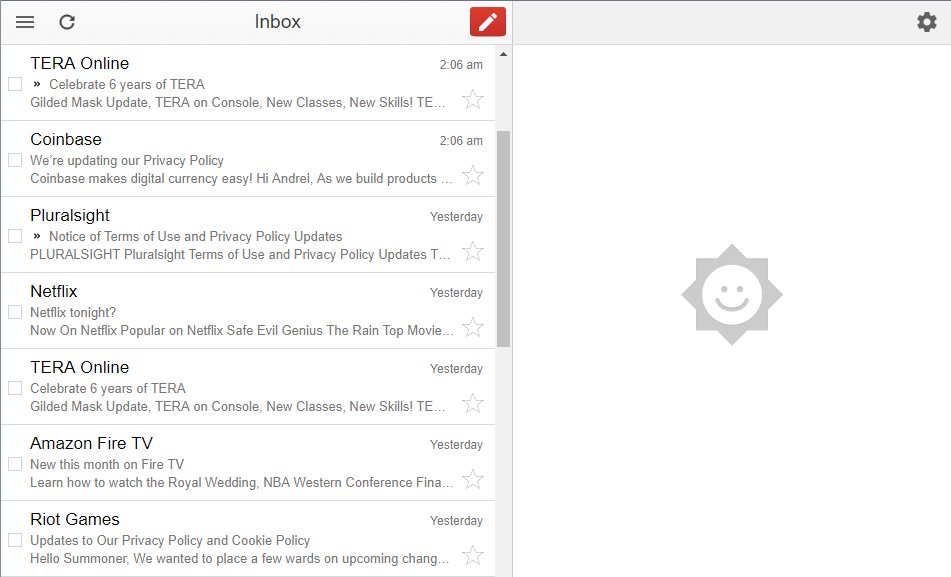
Click on the blue Gmail Offline icon and the tablet-mode interface will load.
Important: Make sure you are connected to the Internet for the synchronization to take place. The email needs to be downloaded before you can access it.
Step 4
Browse through your emails, read, delete and send new content. All the created emails will go to the Outbox folder. When you'll come online, they will be sent automatically and a new synchronization will take place. Also, the interface will look like the one below.
 Gmail Offline Interface
Enable offline support (new look)
Step 1
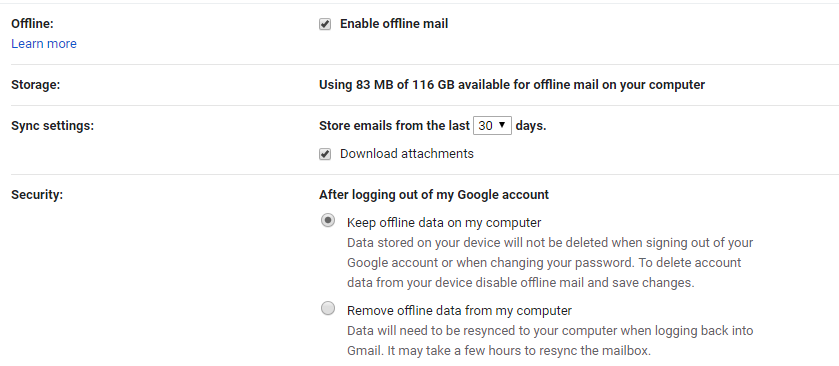
Press on the cogwheel, then go to Settings and choose Offline. Tick the Enable offline mail option and customize other settings. Confirm the procedure and the email will be synchronized automatically on your PC.
 Gmail Offline settings
Step 2
Browse through your email, read and sent emails, but stay on the same interface. You will notice a synchronization icon that spins automatically next to the cogwheel one. When it's animated it means the synchronization is taking place. All the emails you sent will be in the Outbox folder as well until the computer you're using will have Internet access.
Disable offline support
To disable Offline support, either uninstall the extension from your browser (classical Gmail's look) or simply disable the option in Settings > Offline.
Conclusion
The offline support for Gmail is a handy feature especially for zones where the Internet is limited/filtered or when you're traveling. Even if you don't have an active connection, you can still get access to your inbox to plan the next emails while staying creative. I believe you should always use this option because everything will be in sync and you won't lose anything, even without an active Internet connection. This option works best with personal computers, therefore I wouldn't recommend enabling offline support on public/shared PCs.


Comments