 How to Make a Recovery Disk
Even though the latest versions of Mac OS X (starting with Lion) come with a feature called OS X Recovery (which you activate by pressing the Command key and R during boot), that will help you repair your disks, restore your system from a Time Machine backup file or even let you reinstall your operating system if you have a separate storage media (such as a USB flash drive). Basically, OS X Recovery is a hidden bootable partition that is automatically created when installing Mac OS X Lion or newer.
In the following lines I will show you how easy it is to create a recovery disk for your Mac OS X. There are several tools that will help you with the creation process and I will only cover some of them in this guide.
1. Recovery Disk Assistant - burn recovery disk to USB device
 Main Window
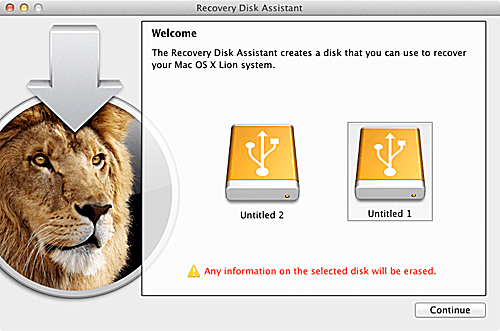
This tool should already be in your "Applications" folder, as it is developed and distributed by Apple, but, in case it isn't, you can click here to download it. As soon as you launch this program, you will see that it is very easy to use as you will be provided with step-by-step instructions that you need to follow in order to create your recovery disk. Simply plug in your USB drive (flash drive, external drive, etc.) to your Mac and click on the Continue button.
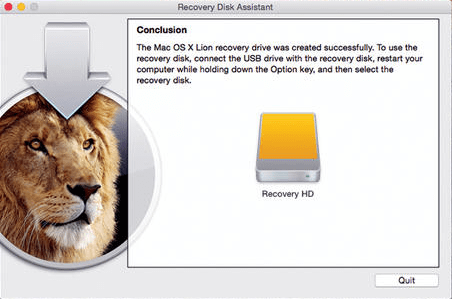
Now all you have to do is wait for the process to finish, click on the Quit button once it is over, eject your USB drive and store it in a safe place until you will need to use it.
 Disk Created
2. Disk Utility - burn recovery disk to CD/DVD
 Disk Utility Recovery HD
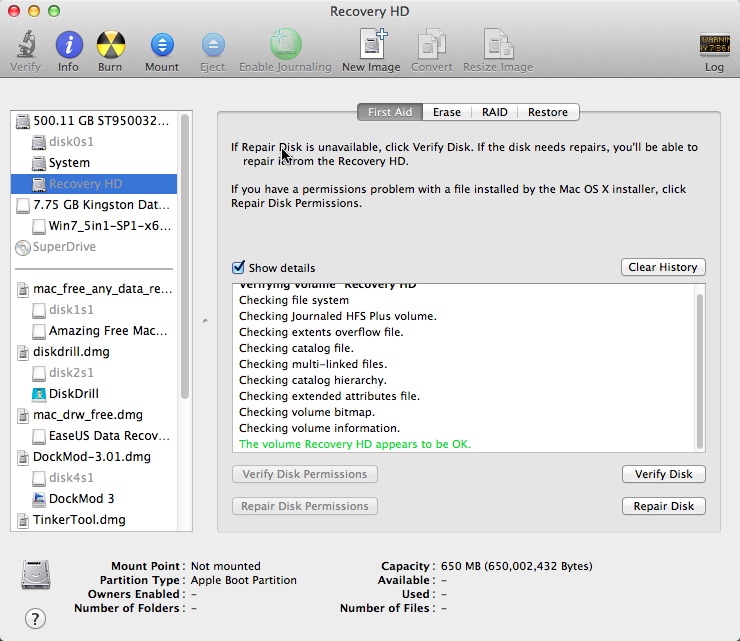
You can also use Apple's Disk Utility to burn your recovery partition to a CD or DVD disc. However, due to the fact that the Recovery HD partition created during the installation of your Mac OS X is hidden, you will have to open the Terminal and type the following command:
defaults write com.apple.DiskUtility DUDebugMenuEnabled 1
Once you have typed the command, open Disk Utility and select the "Show Every Partition" option under the "Debug" menu. Now you should be able to view the Recovery HD partition. All you have to do is select it and create a disk image from it by going to the "File" menu and choosing to create a new disk image from "Recovery HD". Save the disk image in any desired location and then burn it to a CD or DVD disc by clicking on the "Burn" icon from Disk Utility.
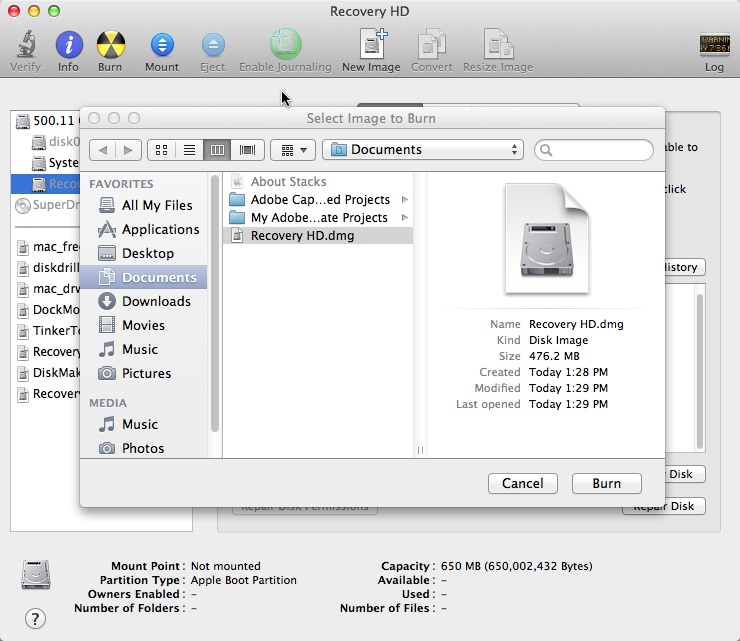 Burn Disc Image
3. DiskMaker X - burn recovery disk to USB device
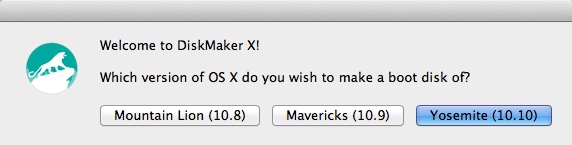
Another handy tool that you can use to create a recovery disk for your Mac OS X is the freeware DiskMaker X (formerly known as Lion Disk Maker). This application will help you create recovery disks for Mac OS X Lion, Mavericks and Yosemite (as you can see in the image below).
 OS Selection
Using DiskMaker X to create recovery disks is a very simple process and all you have to do is select the appropriate options when prompted. After launching the application you will be asked to choose the version of OS that you wish to use for creating a boot disk. Once you made your choice, you will be asked to provide the path for the installation file (usually a disc image). Simply choose the desired file you want to use, click to burn it to a 8GB USB flash drive (or to another type of disk), select to erase, create the disk and wait for the process to finish. It's that simple.
Conclusion
As you can see, any of the above mentioned methods will help you create a recovery disk for your Mac OS X. You can use USB thumb drives or CDs and DVDs as bootable recovery disks.


Comments