 How to back up your Mac
Backing up the data on your Mac will always be a good idea as there are many risks of losing it and never getting it back. For instance, you could permanently delete an important document by accident or download an infected file from the web which affects your whole system and your data. This guide will teach you how to back up your data by using the Time Machine program, a default utility, as well as the two other third-party apps: Dropbox and ChronoSync.
Backing up your Mac with Time Machine
Here's what you need to do in order to back up the files on your Mac by using the Time Machine application:
1. Launch the System Preferences program on your Mac. Click the "Time Machine" icon.
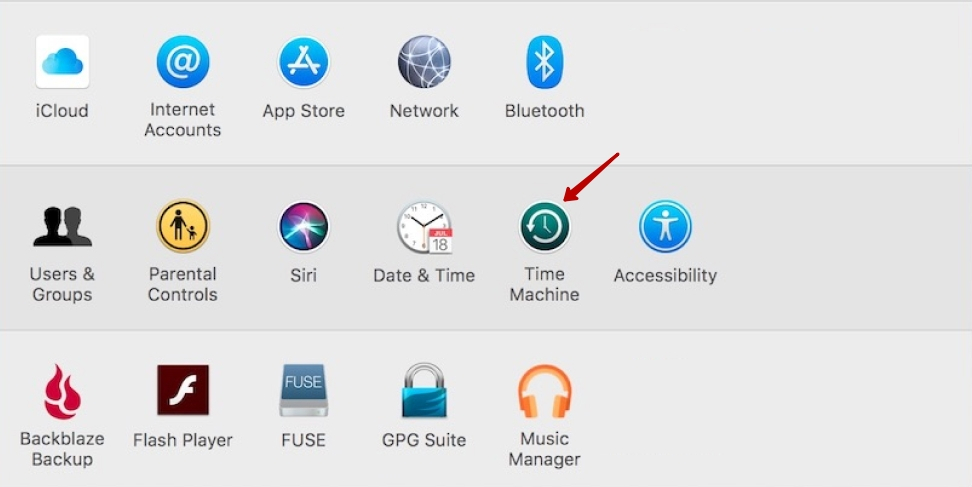 System Preferences
2. Before enabling the backup feature, you need to select the destination for the backed up data. Click the “Select Disk” button and choose one of the listed disks. The program allows you to choose internal or external drives as a destination for the backed up data. Hence, you can back up your files to a connected USB drive or portable hard drive. After you've made your selection, click the “Use Disk” button.
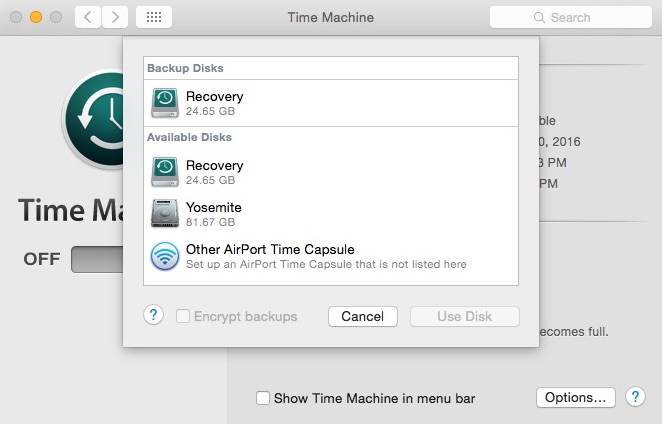 Selecting Backup Destination Disk
3. Slide bar to ON position. Time Machine will start backing up your data every hour.
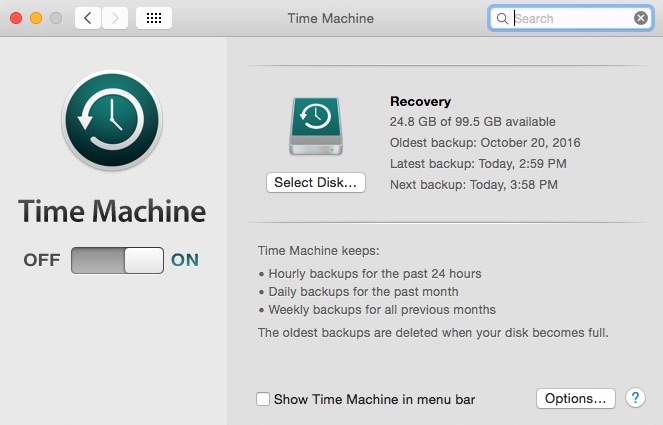 Time Machine Settings Window
Optional: You can choose to encrypt the backups if necessary. This option can be found in the window where you select the destination disk for backup. Furthermore, the application allows you to select which folders to be excluded from the backup process.
Backing up your data by using the Dropbox application
Dropbox is a popular solution for backing up the data on Mac. Unlike the Time Machine program, this utility allows you to access the backed up data from almost every device, whether it’s another Mac or a media gadget (smartphone, tablet, etc.). If Dropbox isn’t installed on the device, you’re using for accessing the backed up data, you can use your default web browser and log in on the Dropbox homepage. Here’s what you need to do in order to back up your files with Dropbox:
1. Launch the Dropbox program on your Mac. Log in to your Dropbox account and select a destination folder for your Dropbox directory. Click its icon to reveal its main window.
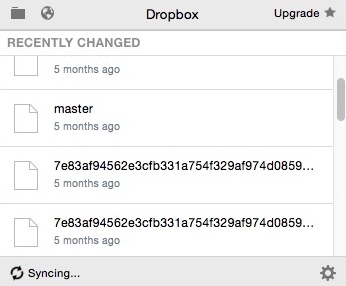 Dropbox Main Window
2. After you configure the app's settings according to your needs, the backup process will start automatically and show its progress in the main window.
Optional: The app also brings you a Selective Sync option which comes in handy if you want to keep certain folders in sync between your Mac and your Dropbox account. Go to Preferences -> Account -> Change Settings and select the folders you want to sync to your computer.
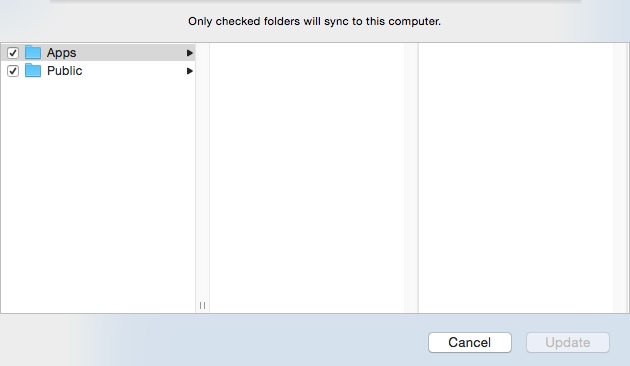 Selecting Folders For Selective Sync
Backing up your data by using the ChronoSync application
ChronoSync is a Mac utility designed to back up and sync your data. This application provides you with a wide range of useful features, has easy-to-configure settings, and doesn’t use many CPU resources while backing up the data within your Mac. Here’s what you need to do to start backing up your Mac data:
1. Launch the ChronoSync app on your Mac. Click the “Create a new synchronizer document” button.
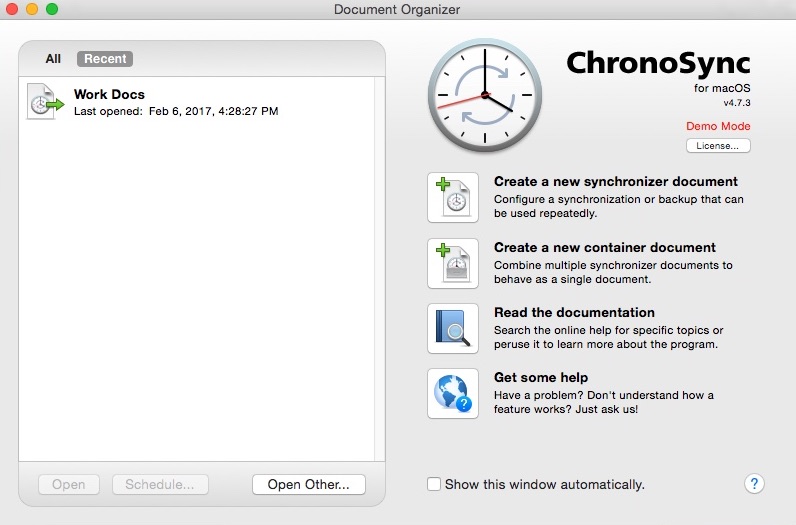 ChronoSync Main Window
2. Enter a name for the new synchronizer document. Choose the source and destination targets and select the proper operation mode (back up left to right, synchronize bidirectionally, etc.).
3. Click the “Add To Schedule” button. Choose the interval of time for backing the selected data and enable other options if necessary (“Retry on errors”, “Prompt user before running”, etc.).
4. If the Readiness State panel from the Setup screen doesn’t display errors (for instance, “The right target has not been specified.”), you can click the “Synchronize” button from the main toolbar of the application.
Optional: You can back up your Mac data among multiple Cloud service accounts (Amazon S3, Google Cloud Storage, etc.). The program also enables you to exclude certain files or folders from the data backup process, lets you archive replaced files if necessary, displays notifications when errors occur, etc.
Please note that many Mac users who upgraded their OS X versions to Sierra encountered issues when backing up their data with the Time Machine program. After numerous complaints, Apple released a guide on how to back up Mac data with Time Machine. Here's what you need to do:
1. Turn on your Mac and immediately press and hold the Command+Option+P+R keys. Hold down the keys until your computer restarts.
2. Release the keys after you hear the startup sound for the 3rd time.
3. Back up your Mac data. If the Time Machine app still fails to back up your files, turn off the indexing on the drive you're backing up and try again.
Conclusion
Personally, I think ChronoSync is the best choice for backing up your Mac data. Unlike the Time Machine and Dropbox utilities, this program provides you with plenty of useful features, from the ability to schedule backups to the amount of supported destination profiles. I’d say it’s definitely worth buying it for your computer to prevent losing any of your important files.
Alternative downloads
-
 Backup Buddy
$4.99
mac
Small backup application focused on simplicity and ease of use.
Download
Backup Buddy
$4.99
mac
Small backup application focused on simplicity and ease of use.
Download
-
ChronoSync
$49.99
mac
Application for macOS that is capable of performing data backup...
Download
-
Dropbox
free
mac
Dropbox brings your files together, in one central place.
Download
-
GrandPerspective
free
mac
Small utility application for Mac that graphically shows the disk usage within a file system.
Download
-
IBackupforMac
$9.95
mac
IBackup for Mac is a user-friendly...
Download
-
TimeMachineEditor
free
mac
Software for OS X that lets you change the default one-hour backup interval of Time Machine.
Download


Comments
Subscribe to comments