 How to convert TIFF to EPS with RasterVect
Graphics designers might already know that an EPS file is a vector image format that is mainly created using the popular Adobe Illustrator (there are also several other programs that can create EPS images). This type of file is primarily used for storing logos, banners, maps, and other vector data. TIFF is one of the preferred choices for many users when dealing with high-quality image data, as this format uses a lossless compression method, therefore preventing the loss of the original photo's quality. So, converting TIFF images into EPS files can be a good solution for turning high-quality pictures into vector graphics so that they can be easily processed using specialized applications (some tools might not give you the possibility to import TIFF files).
Now, I will show you how to turn your TIFF images into EPS files using the free edition of RasterVect 16.0 (Freeware) by RasterVect Software, because it is a very popular application that helps uses convert image files between various formats in a very simple and efficient manner.
Tutorial assets
You will need to download the following software to keep up with this tutorial.
This is what you will have to do in order to convert TIFF images to EPS file format
Step 1
Open the TIFF image file you want to convert (either select "Open File" from the "File" menu or click on the "Open raster file from disk" button from the menu bar).
Step 2
Start the image recognition process to turn your raster image into vector data (go to the "Recognition" menu and click on "Start" or press on the lightning-shaped icon from the menu bar).
Start the process
Step 3
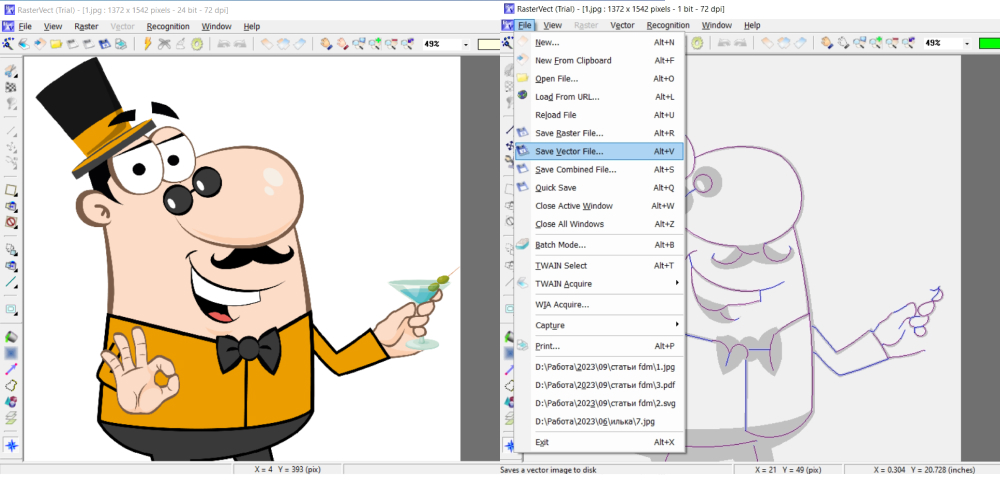
After the recognition process is complete, click on the "Save a vector image to disk" button from the menu bar or go to the "File" menu and "Save Vector File".
Save the image
Step 4
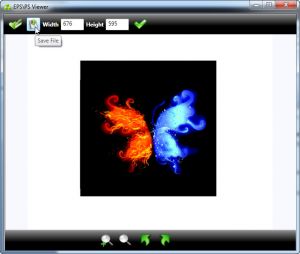
Select EPS as the output format from the drop-down menu and choose the desired output location.
Select EPS as the output format
Conclusion
Congratulations! You have successfully converted your TIFF image file into an EPS vector photo. Transforming your files using RasterVect 16.0 (Freeware) is a very simple process, as you can see from the guide above. The output image won't contain any watermark or other unwanted graphical elements. If you want to try other applications with more advanced features, then check the "Alternative Downloads" section below.
- Very simple process.
- Free to use.
- Fast conversion speed.
- Support for batch conversion.
- Some limitations for the free version: Outlines, Filled Outlines and Centerlines recognition methods are not available in the free version.
Alternative downloads
-
 GIMP
free
windows
Free versatile graphics manipulation package.
Download
-
 VectorEye3
$59
windows
Faster than a tracing hand, this powerful software is the raster to vector converter you need for Illustrator (Adobe)...
Download


Comments
Subscribe to comments