 How to make a video clip
A while back we showed you how to record the PC screen, but that's not the only way to create videos on your computer. If you want to, you can use any photos and videos stored on your hard disk or on a connected external device and turn them into a video presentation that can be easily shared with others. If that is something you're interested in, here is the simplest way to create a video clip, without having to deal with too many settings or fancy options:
Using Photos
Photos is an application that is automatically installed along with latest versions of Windows and is the default application for viewing image and video files on your PC. However, what many people don't know is that it can also be used to create videos:
Step 1
Navigate to one of the pictures or videos that you want to feature in your clip, then open it with the Photos app.
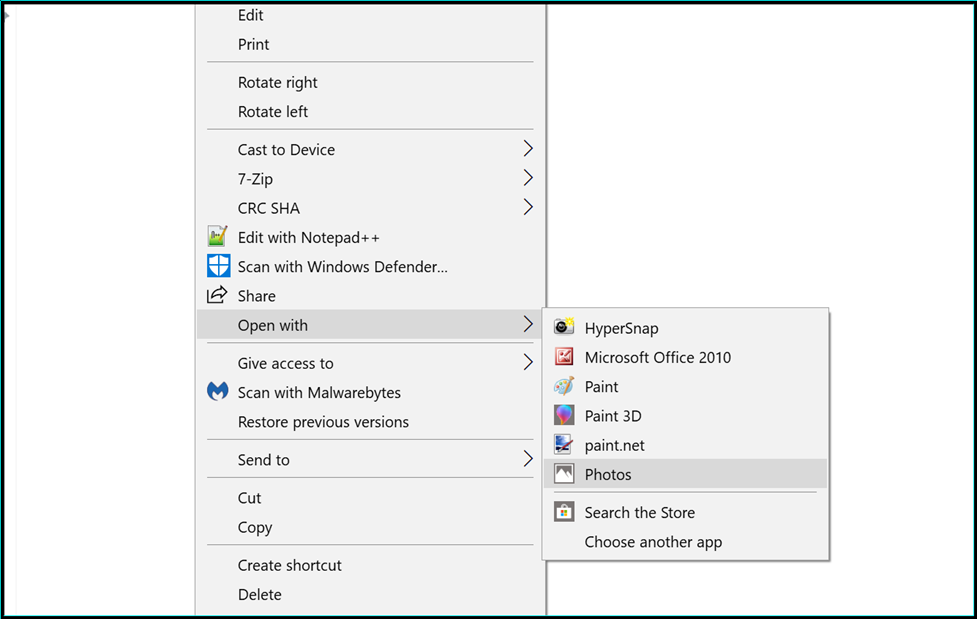 Open with Photos
Step 2
Click on the Edit & Create button from the top-right corner, then select the Create a video with music option.
 Create music video
Step 3
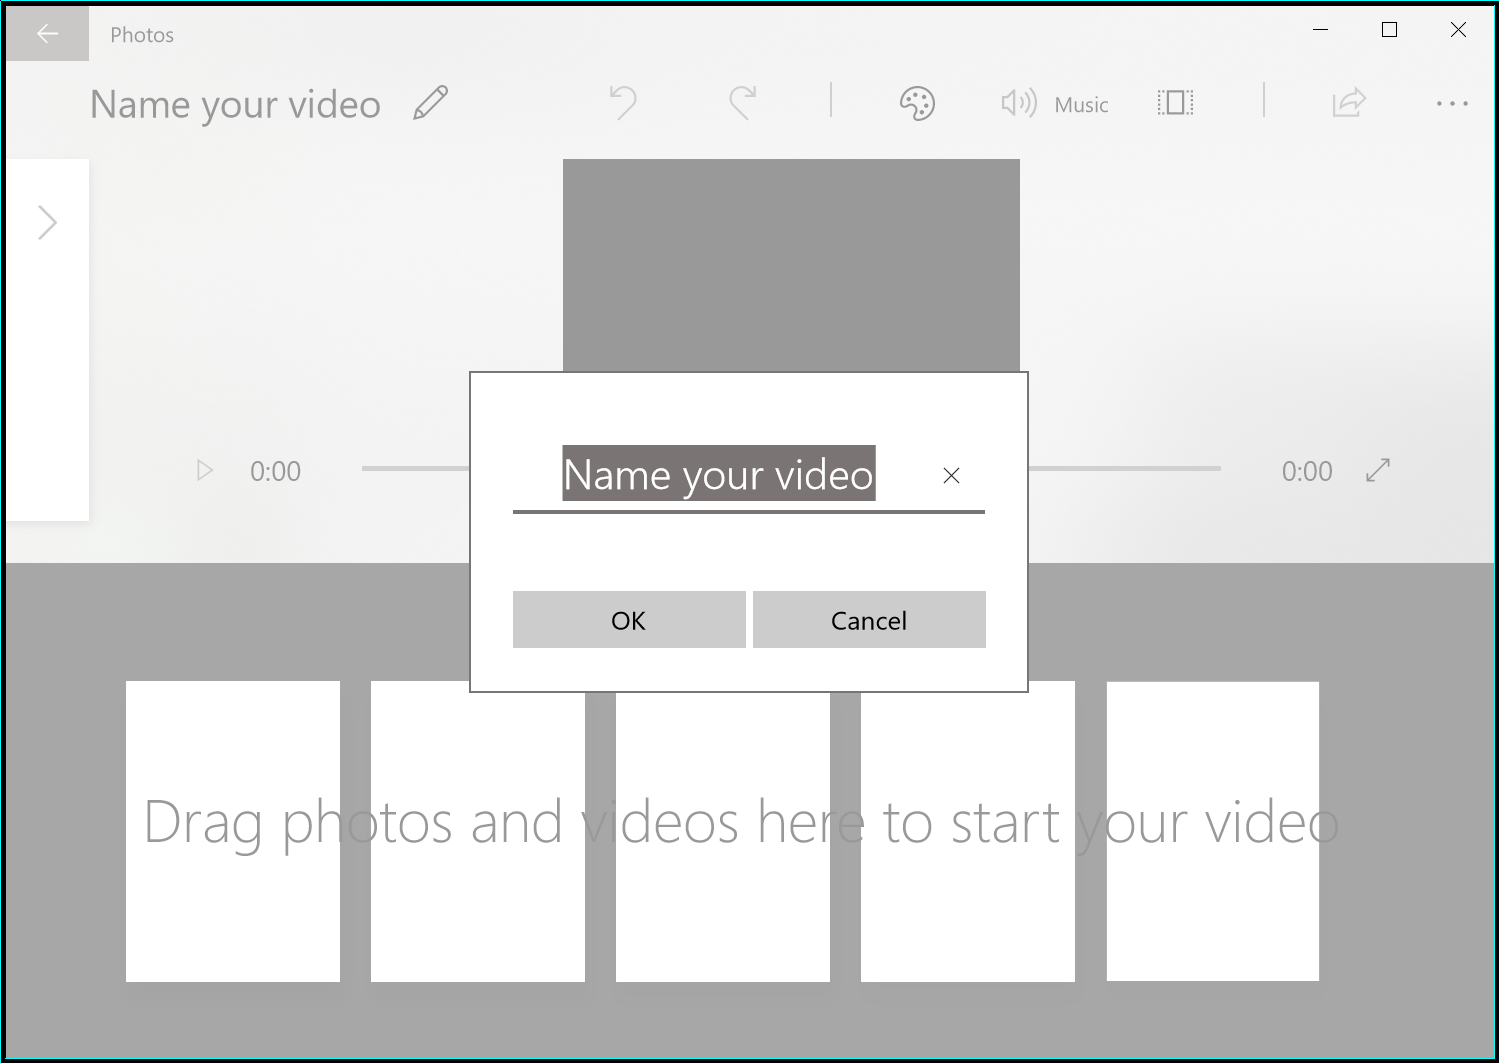
Type the name that you want your video to have.
 Video name
Step 4
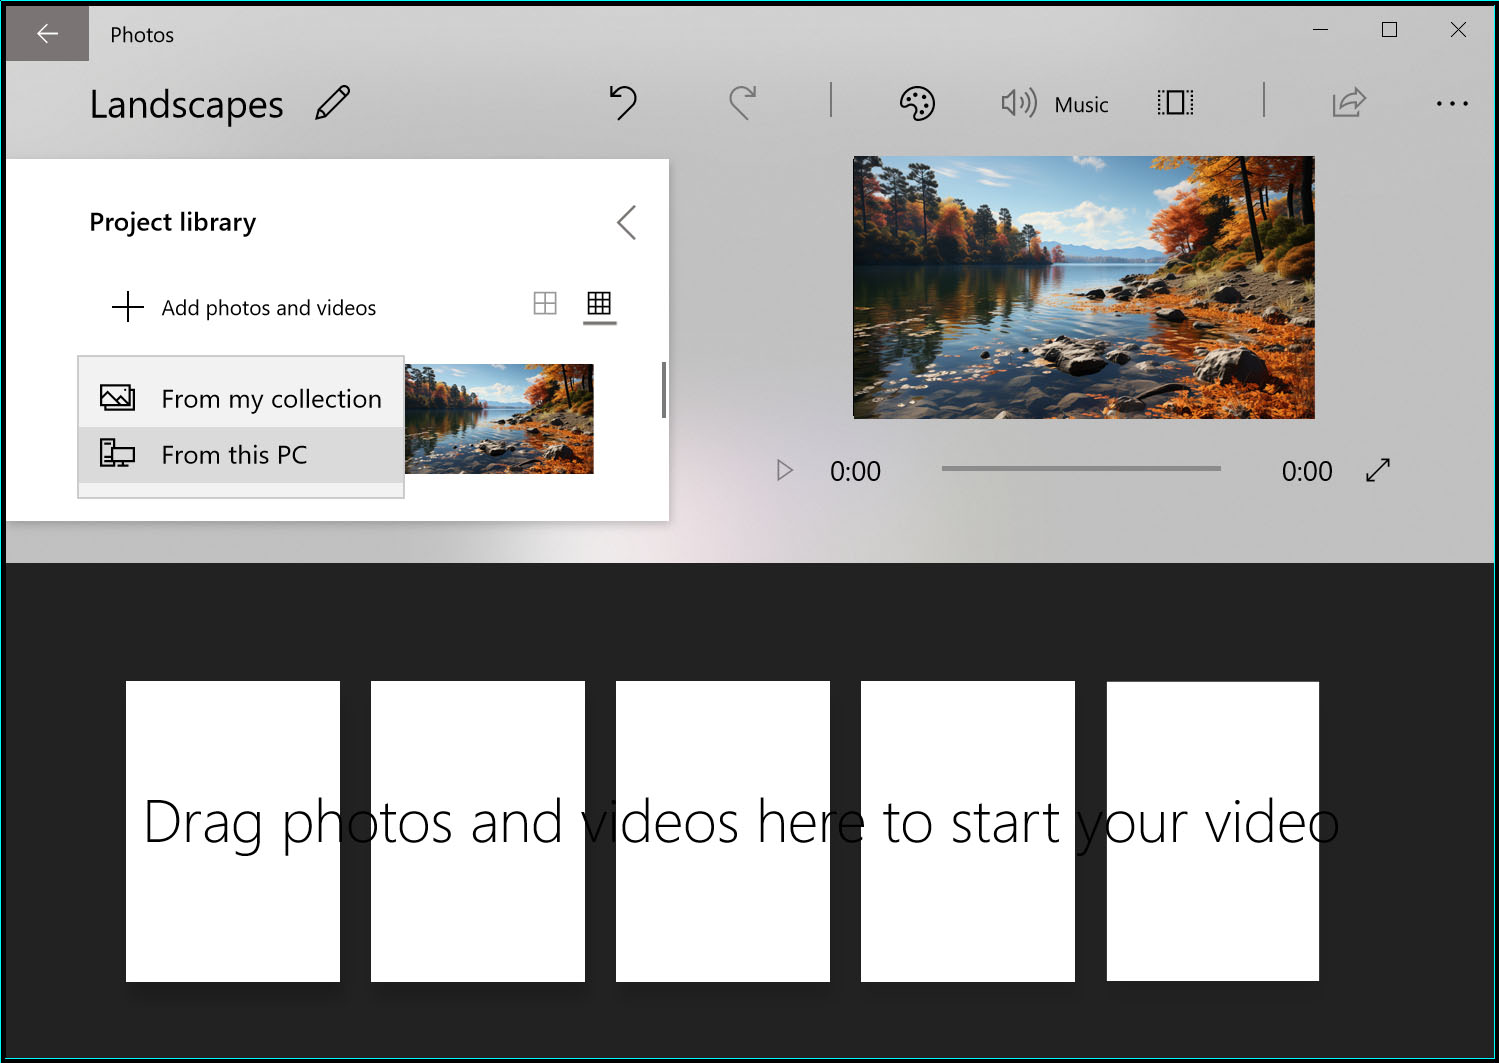
Click on the Add photos and videos button from the Project Library section to add all the items that you want to appear in your clip.
Step 5
Manually drag and drop the items to the slots on the lower side of the screen to decide the order they will appear in. The content can be rearranged as you see fit and by right-clicking an item, you will open an additional menu where you can edit it or choose for how many seconds each image will be displayed.
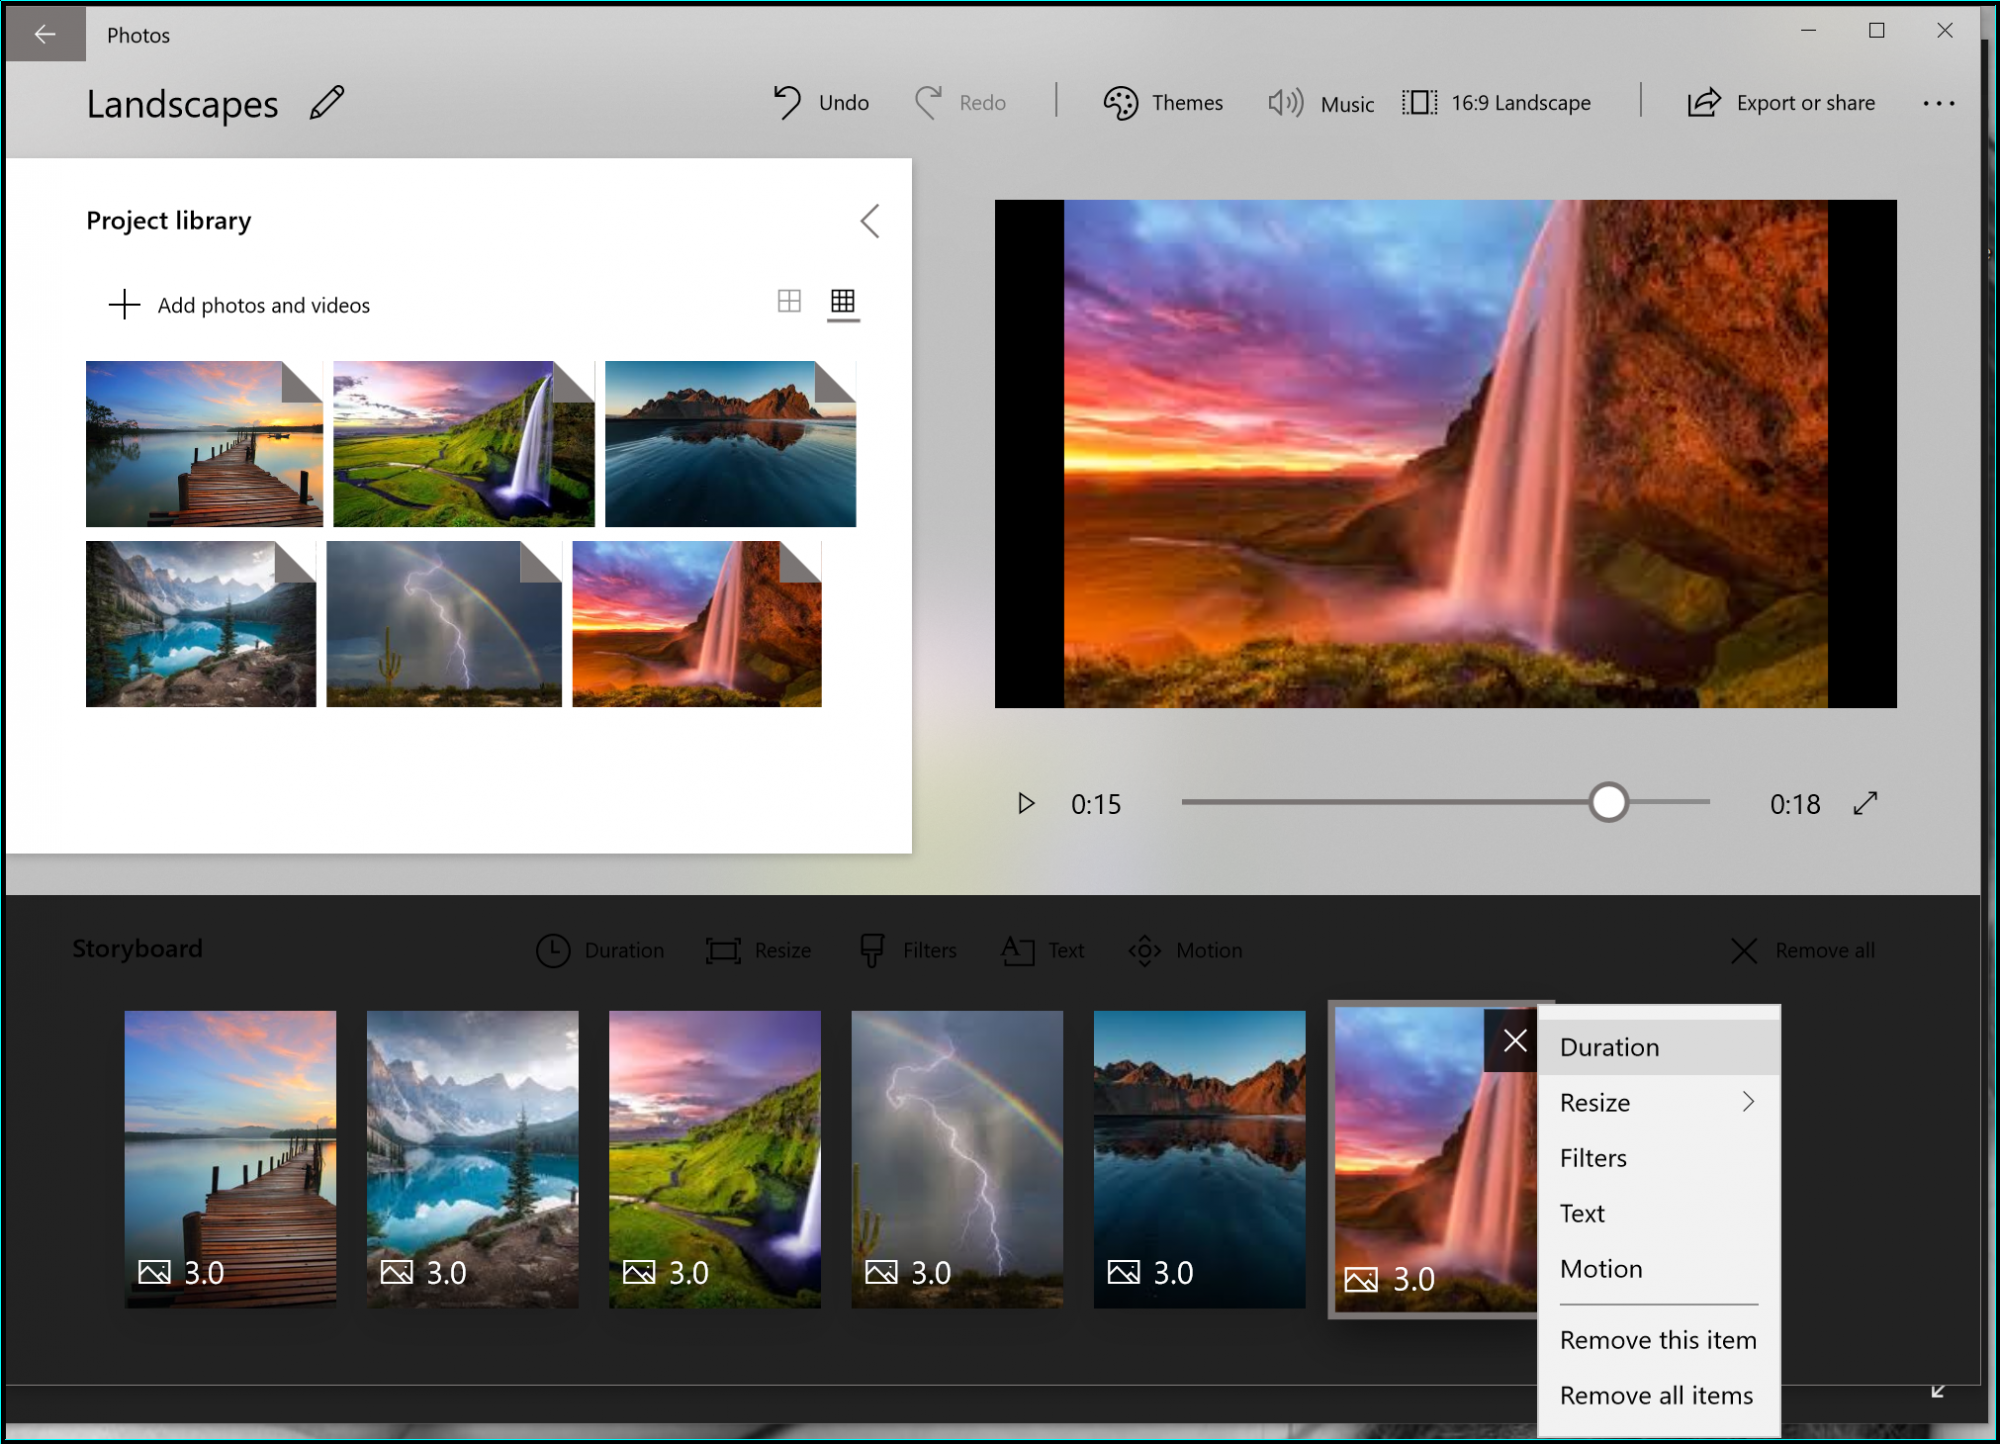 Arrange items
Step 6
Use the Theme button to select one of the available themes or the Music button to choose the song that's going to be played in the background. (There's also an option to match the video to the beat of the song.)
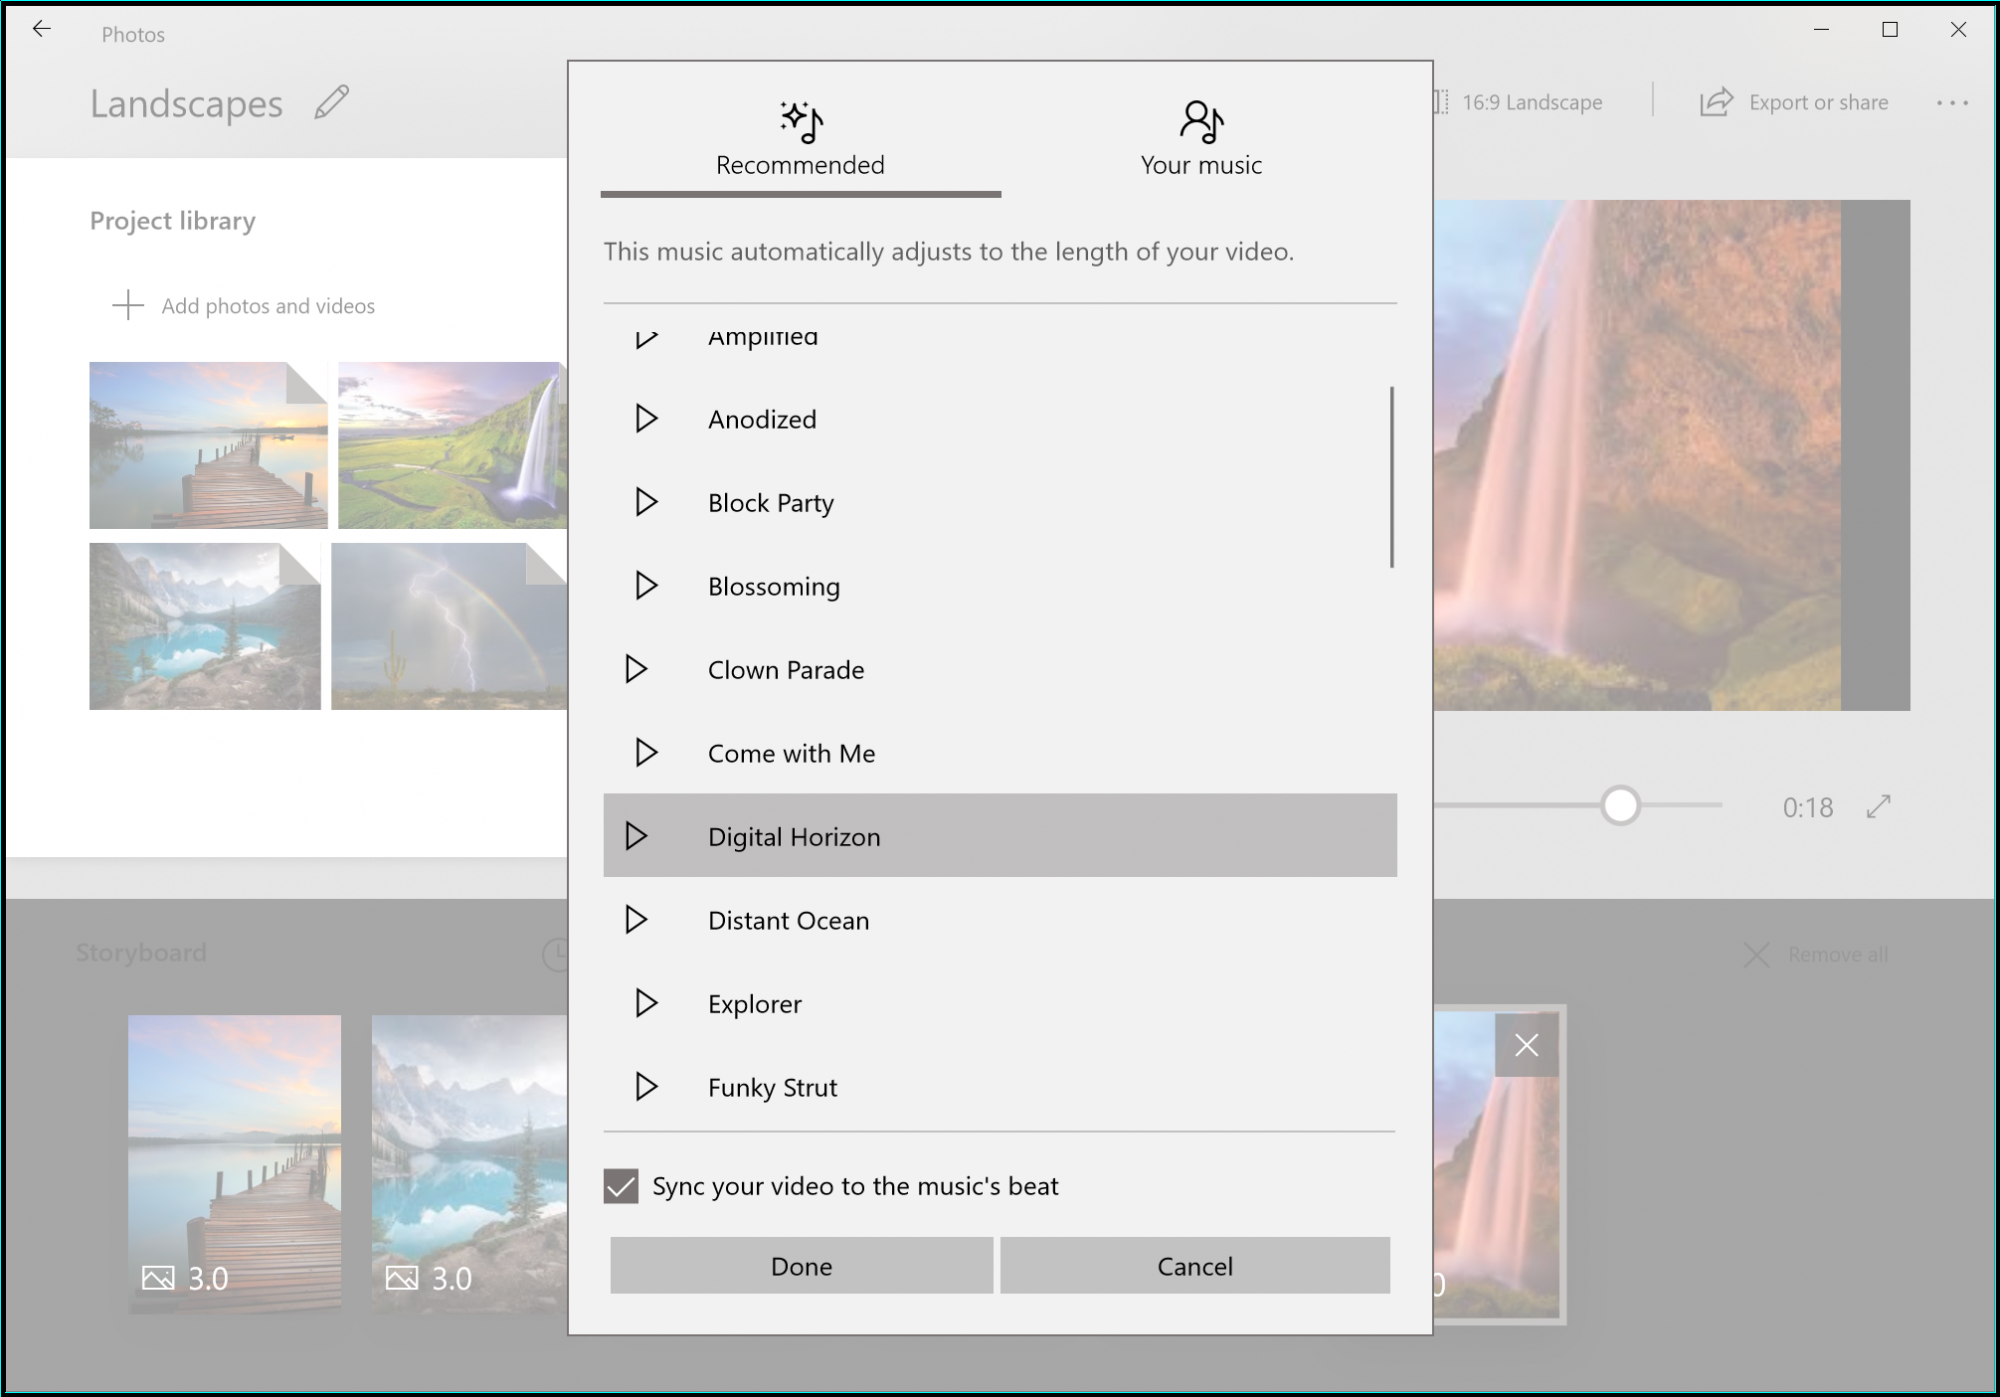 Select music
Step 7
Use the corresponding button to select the desired aspect ratio and screen orientation.
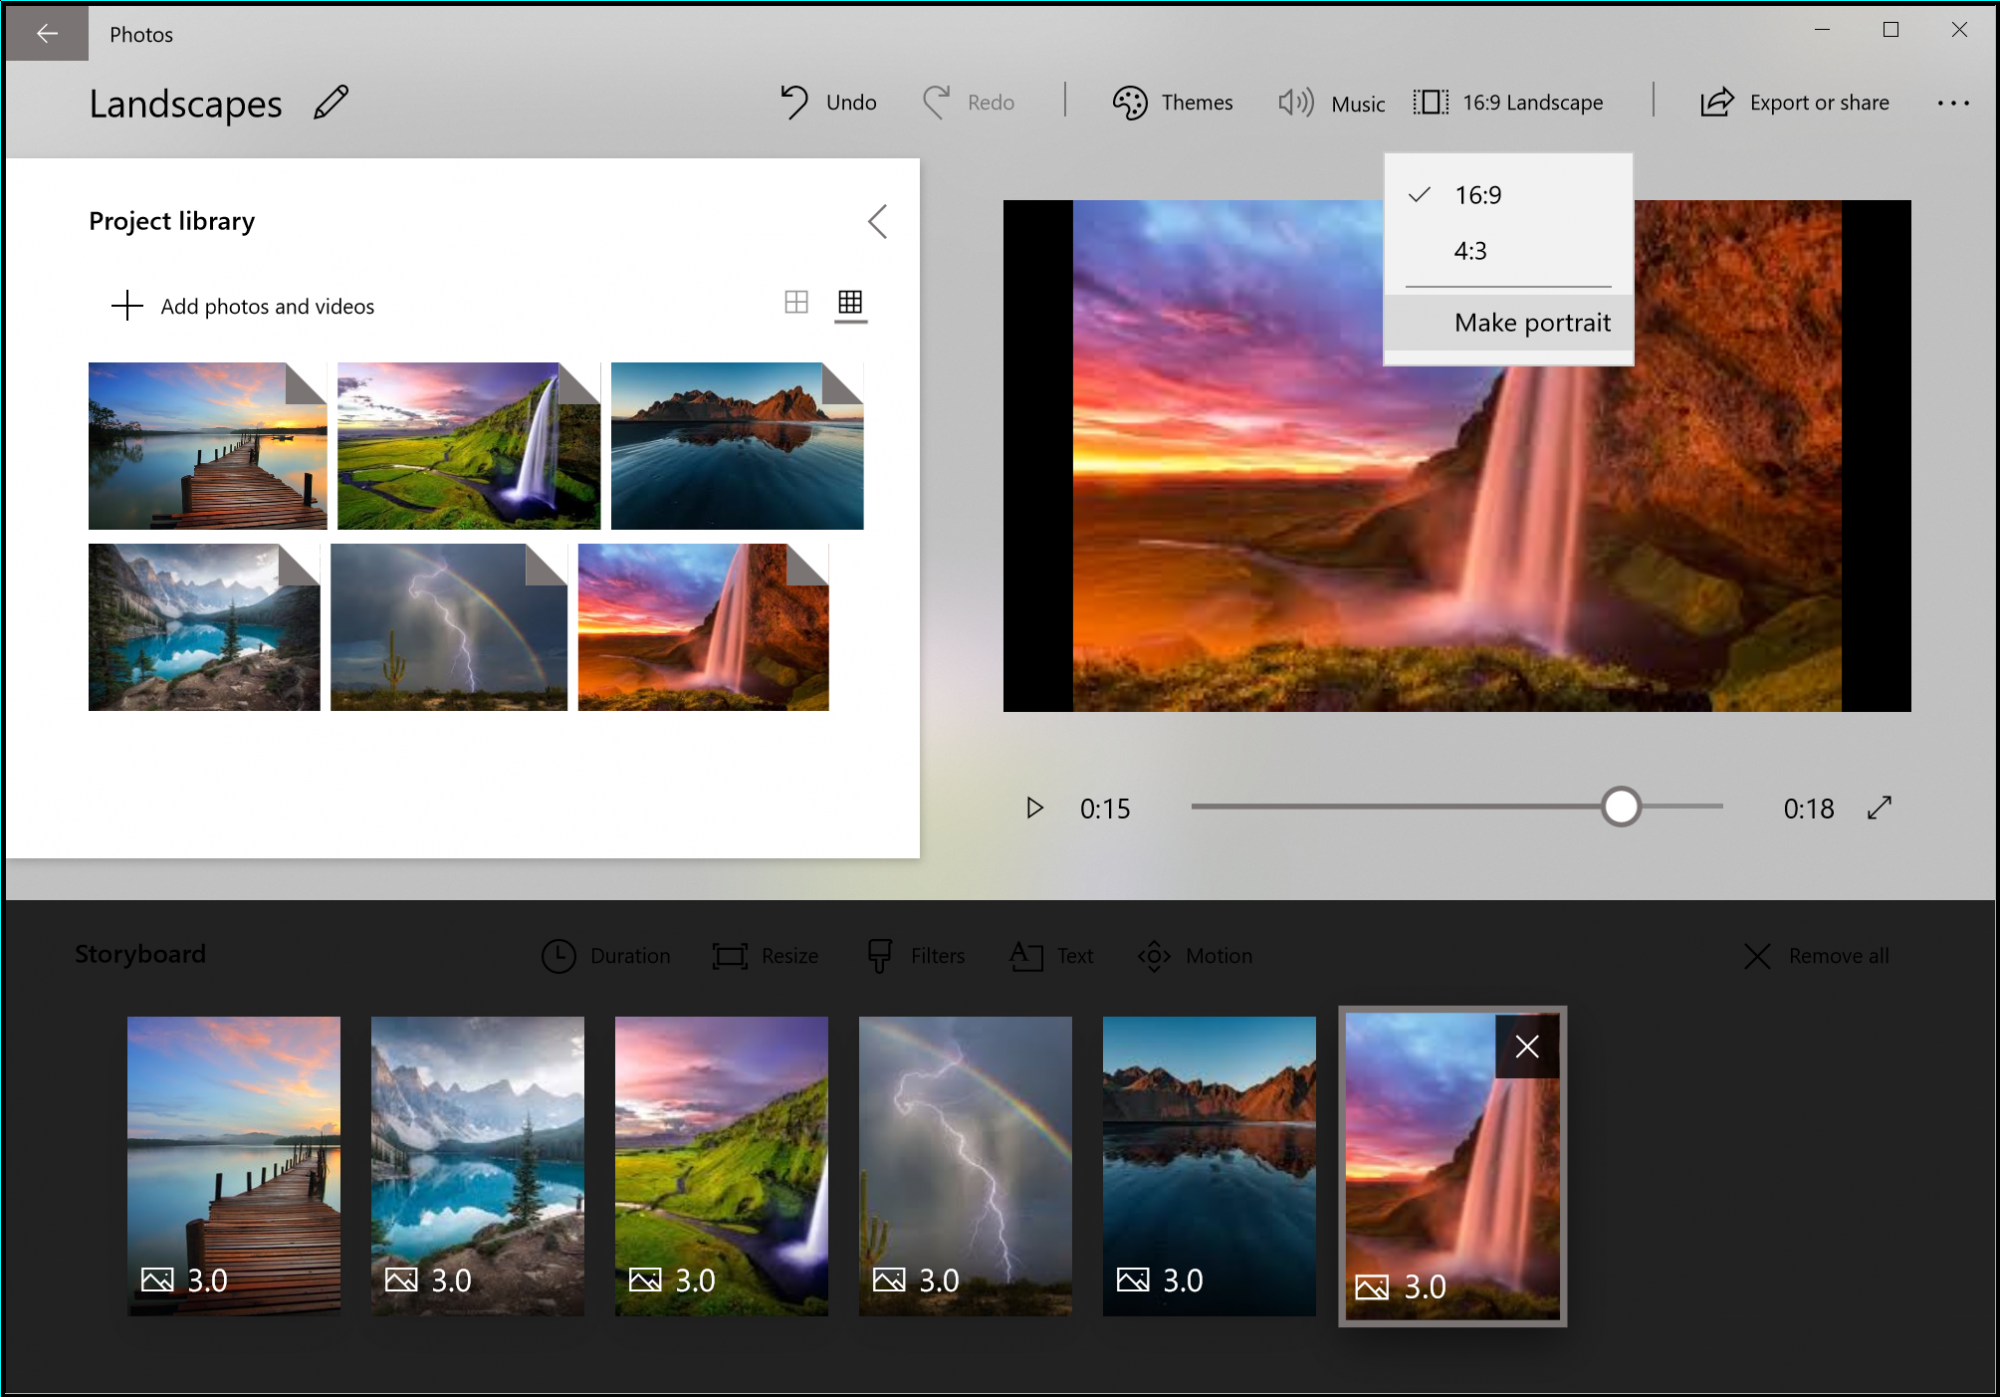 Aspect ratio
Step 8
Press the Export or share button to save your project and decide the desired video quality of your project. Once the application creates your file, you will find out where it was saved on your hard-disk and get additional options to easily share it with your contacts.
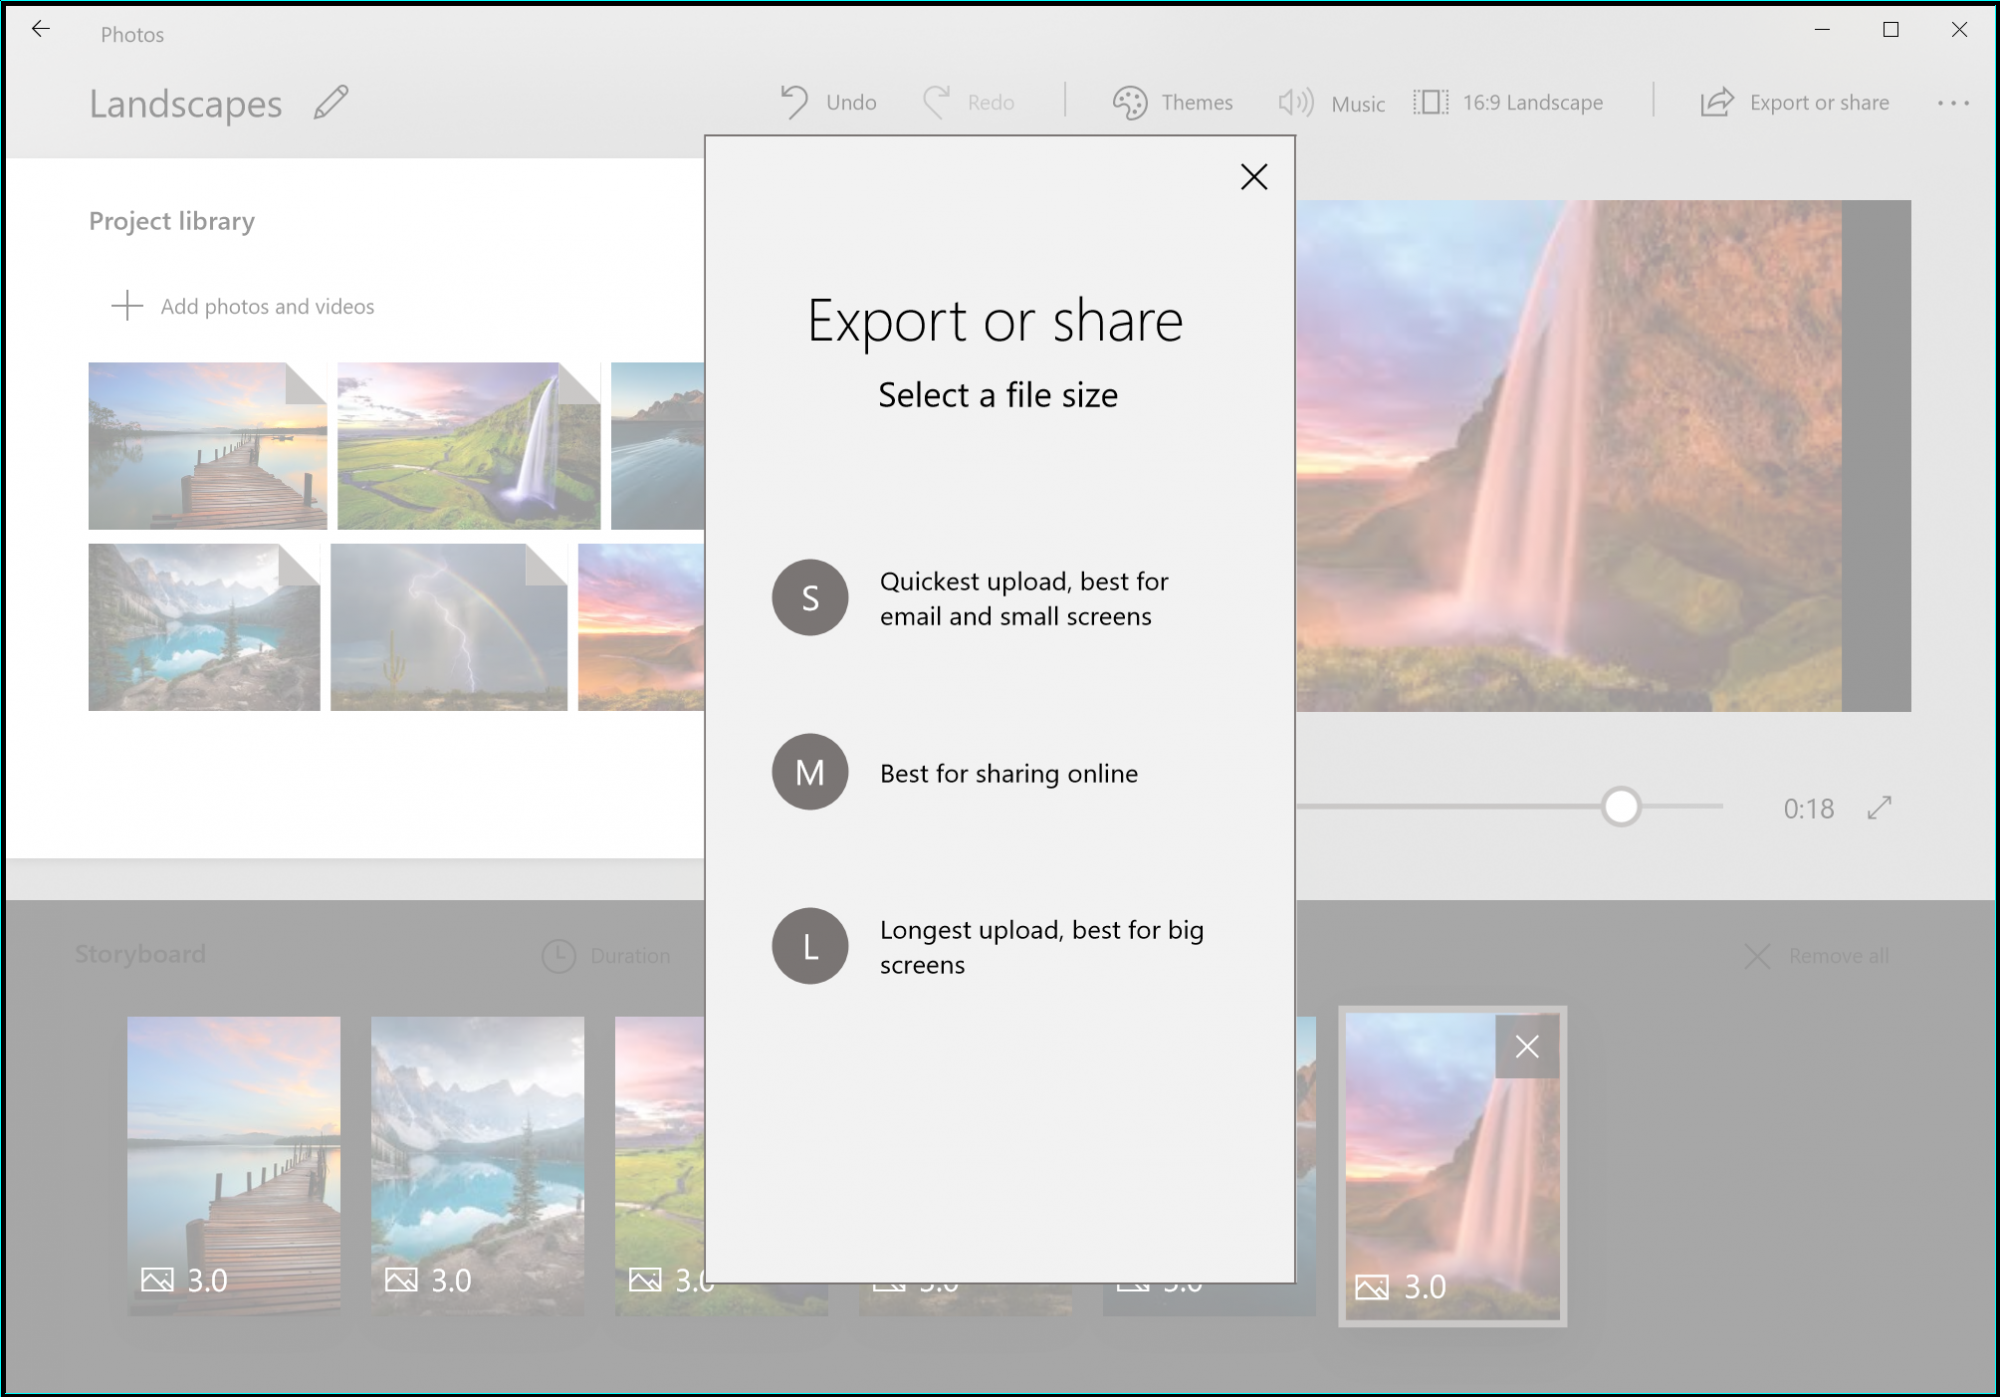 Export and save
Conclusion
There you have it, friends, this is the easiest way to create a video clip on your Windows 10 PC as it doesn't require installing any third-party application or having any kind of video editing experience. However, the question is, do you prefer using the default Photos app, or would you rather utilize a more advanced tool such as Adobe Premiere even though it would be harder to learn how to use? Let us know in the comments below.


Does it have to be saved on a hard-disk only?